New Guitar! Harley Benton TE-80 Prince Telecaster replica.
Finally after some contemplating, I decided to purchase the Harley Benton TE-80 guitar which looks as a quite good copy of the Prince telecaster. There are some “unboxing videos” of this guitar on youtube and the reviews are not that bad. So why not take a chance for 190 euros?
Harley Benton is not a very familiar name. In fact it is a brand run by one of the biggest online music stores: Thomann. It’s a German online store so when you are living outside of the EU, their products may become quite expensive because of taxes and shipping costs.
The guitars are probably made in China, maybe Indonesia. That should not be an issue. Some quite nice guitars may come from these countries, of course -especially for that price- it’s never going to match a high-end guitar. But it should be playable and with a few modifications and upgrades
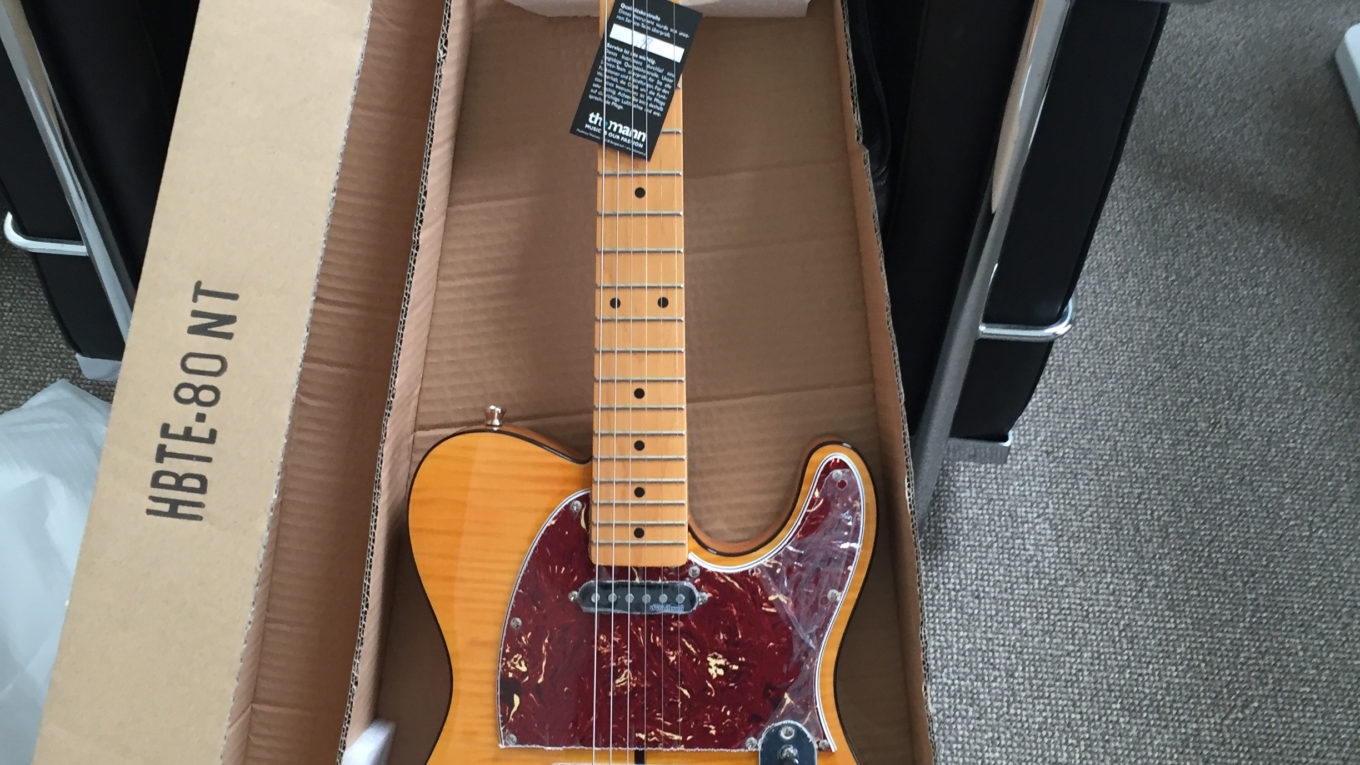
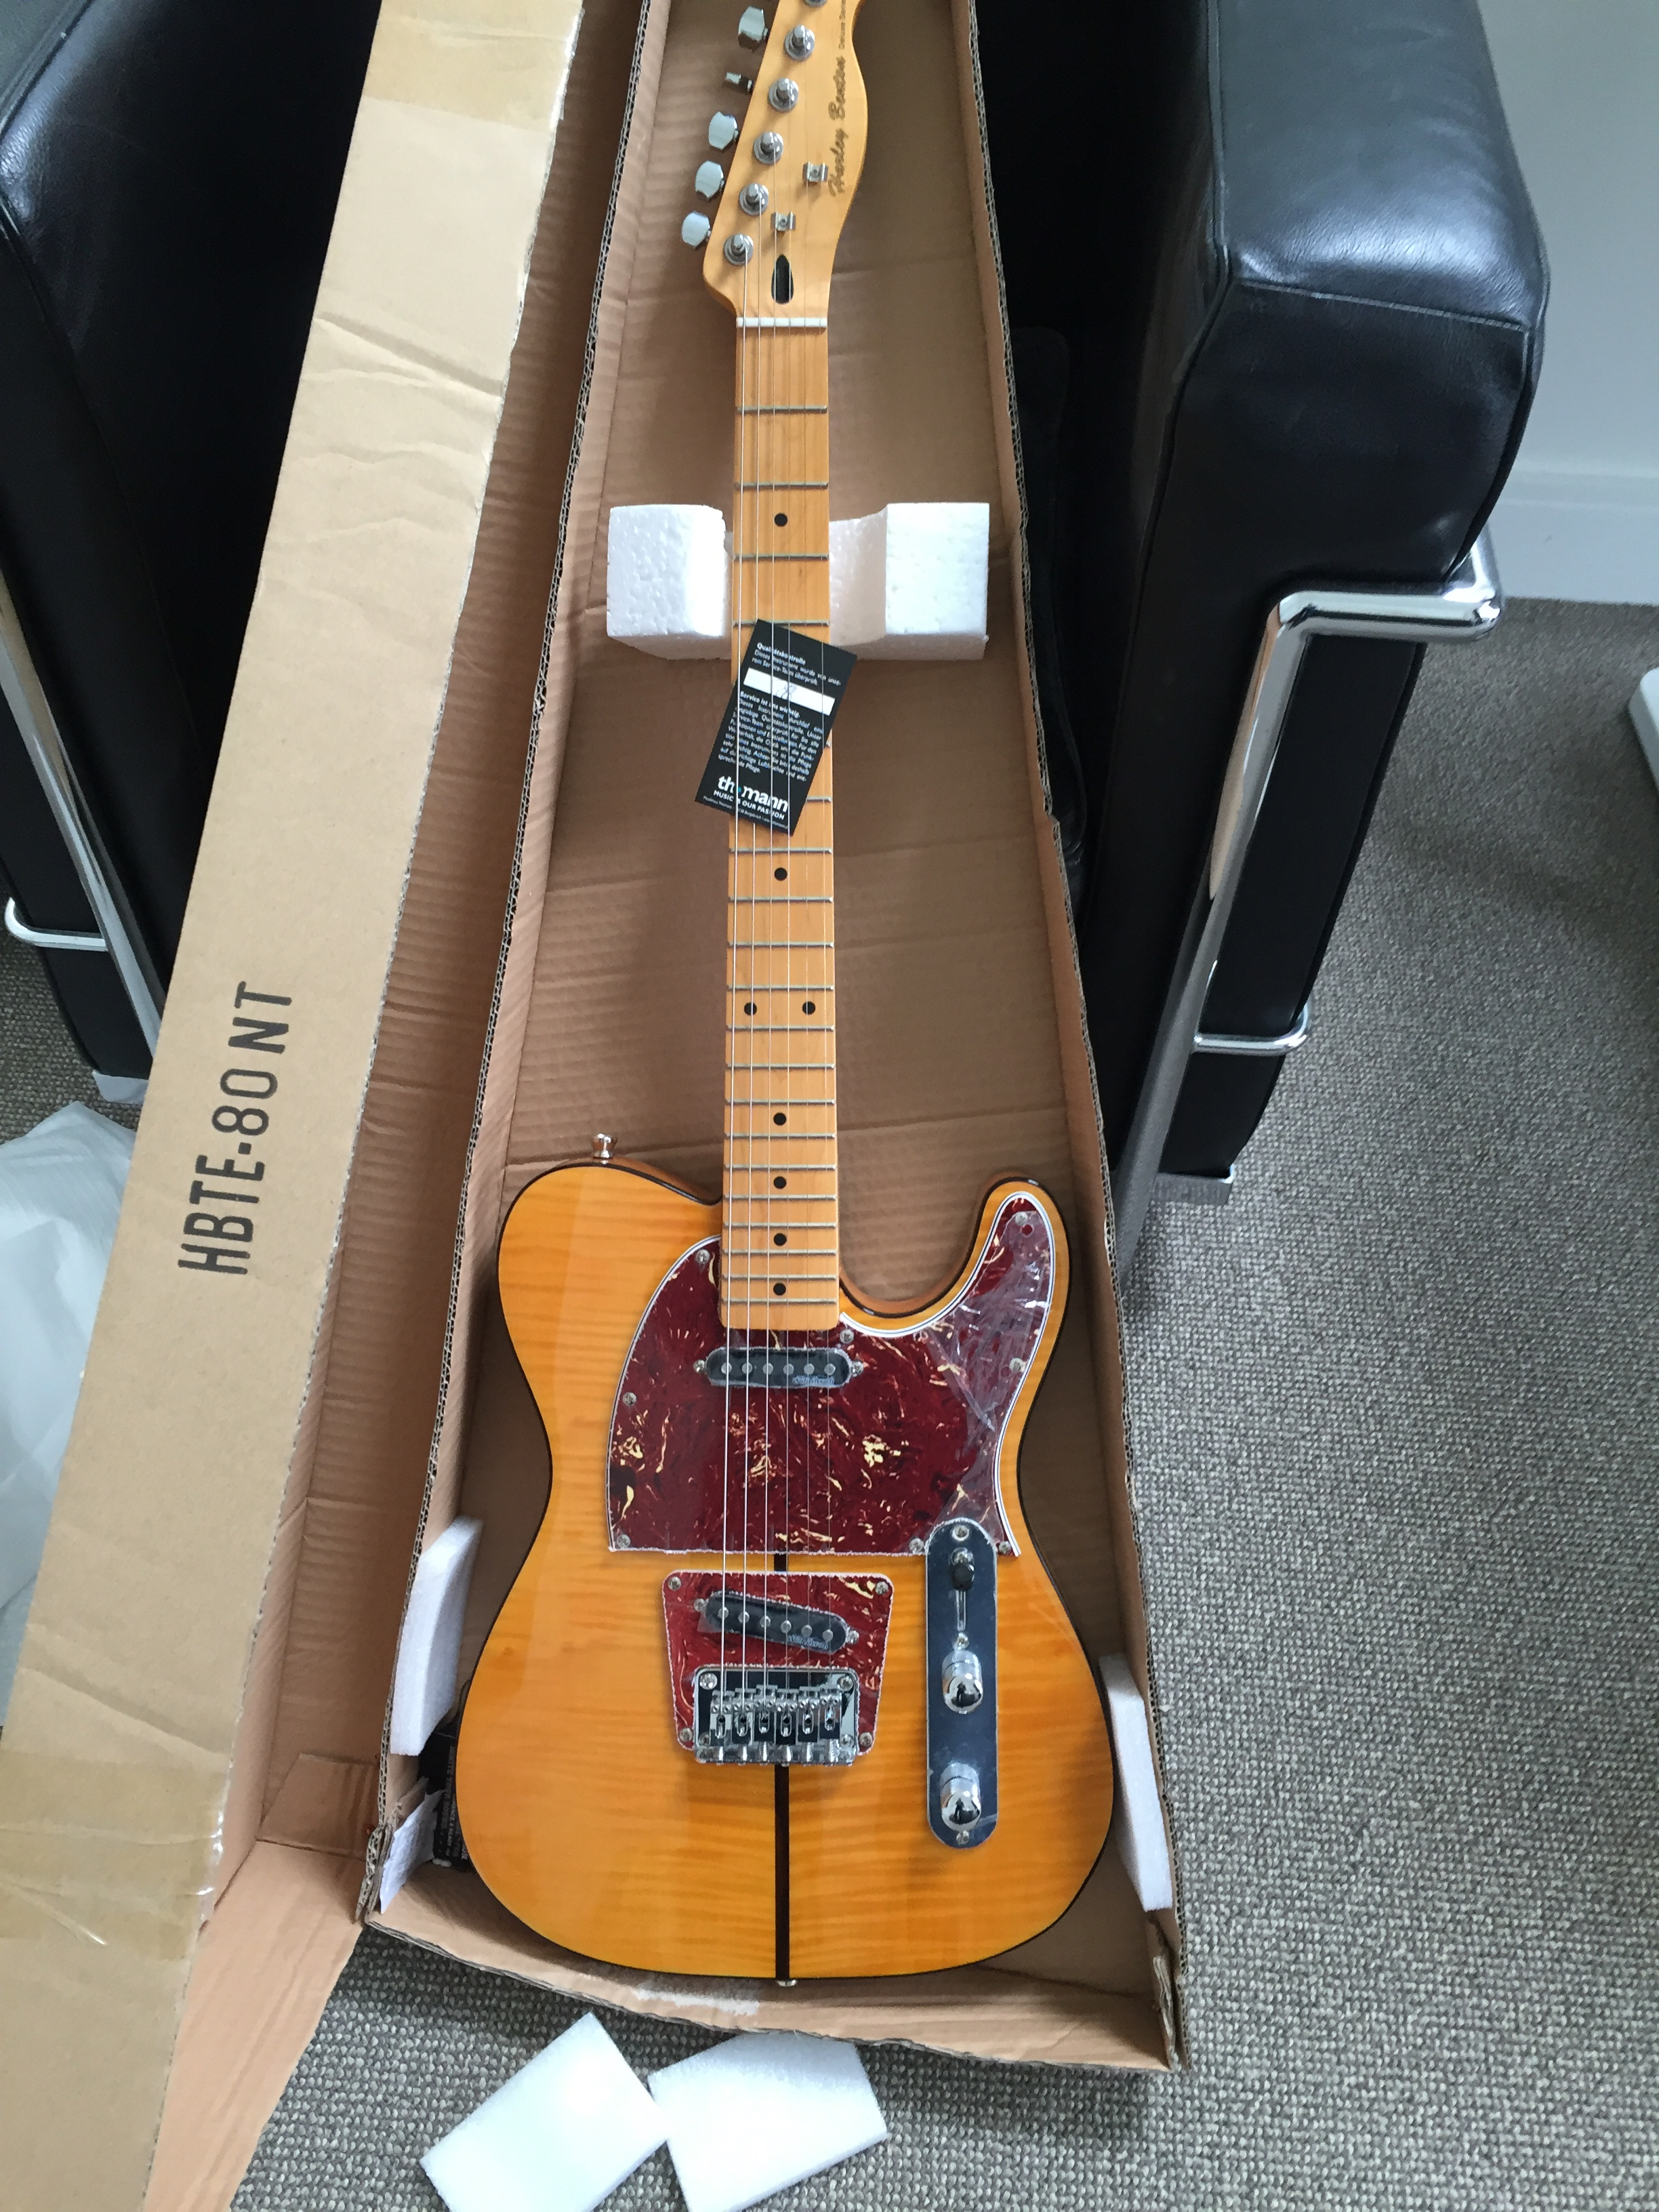
The guitar was delivered within a week after my online purchase and my first impression was quite positive. Let’s look at some points:
- The guitar is heavy, about kg.
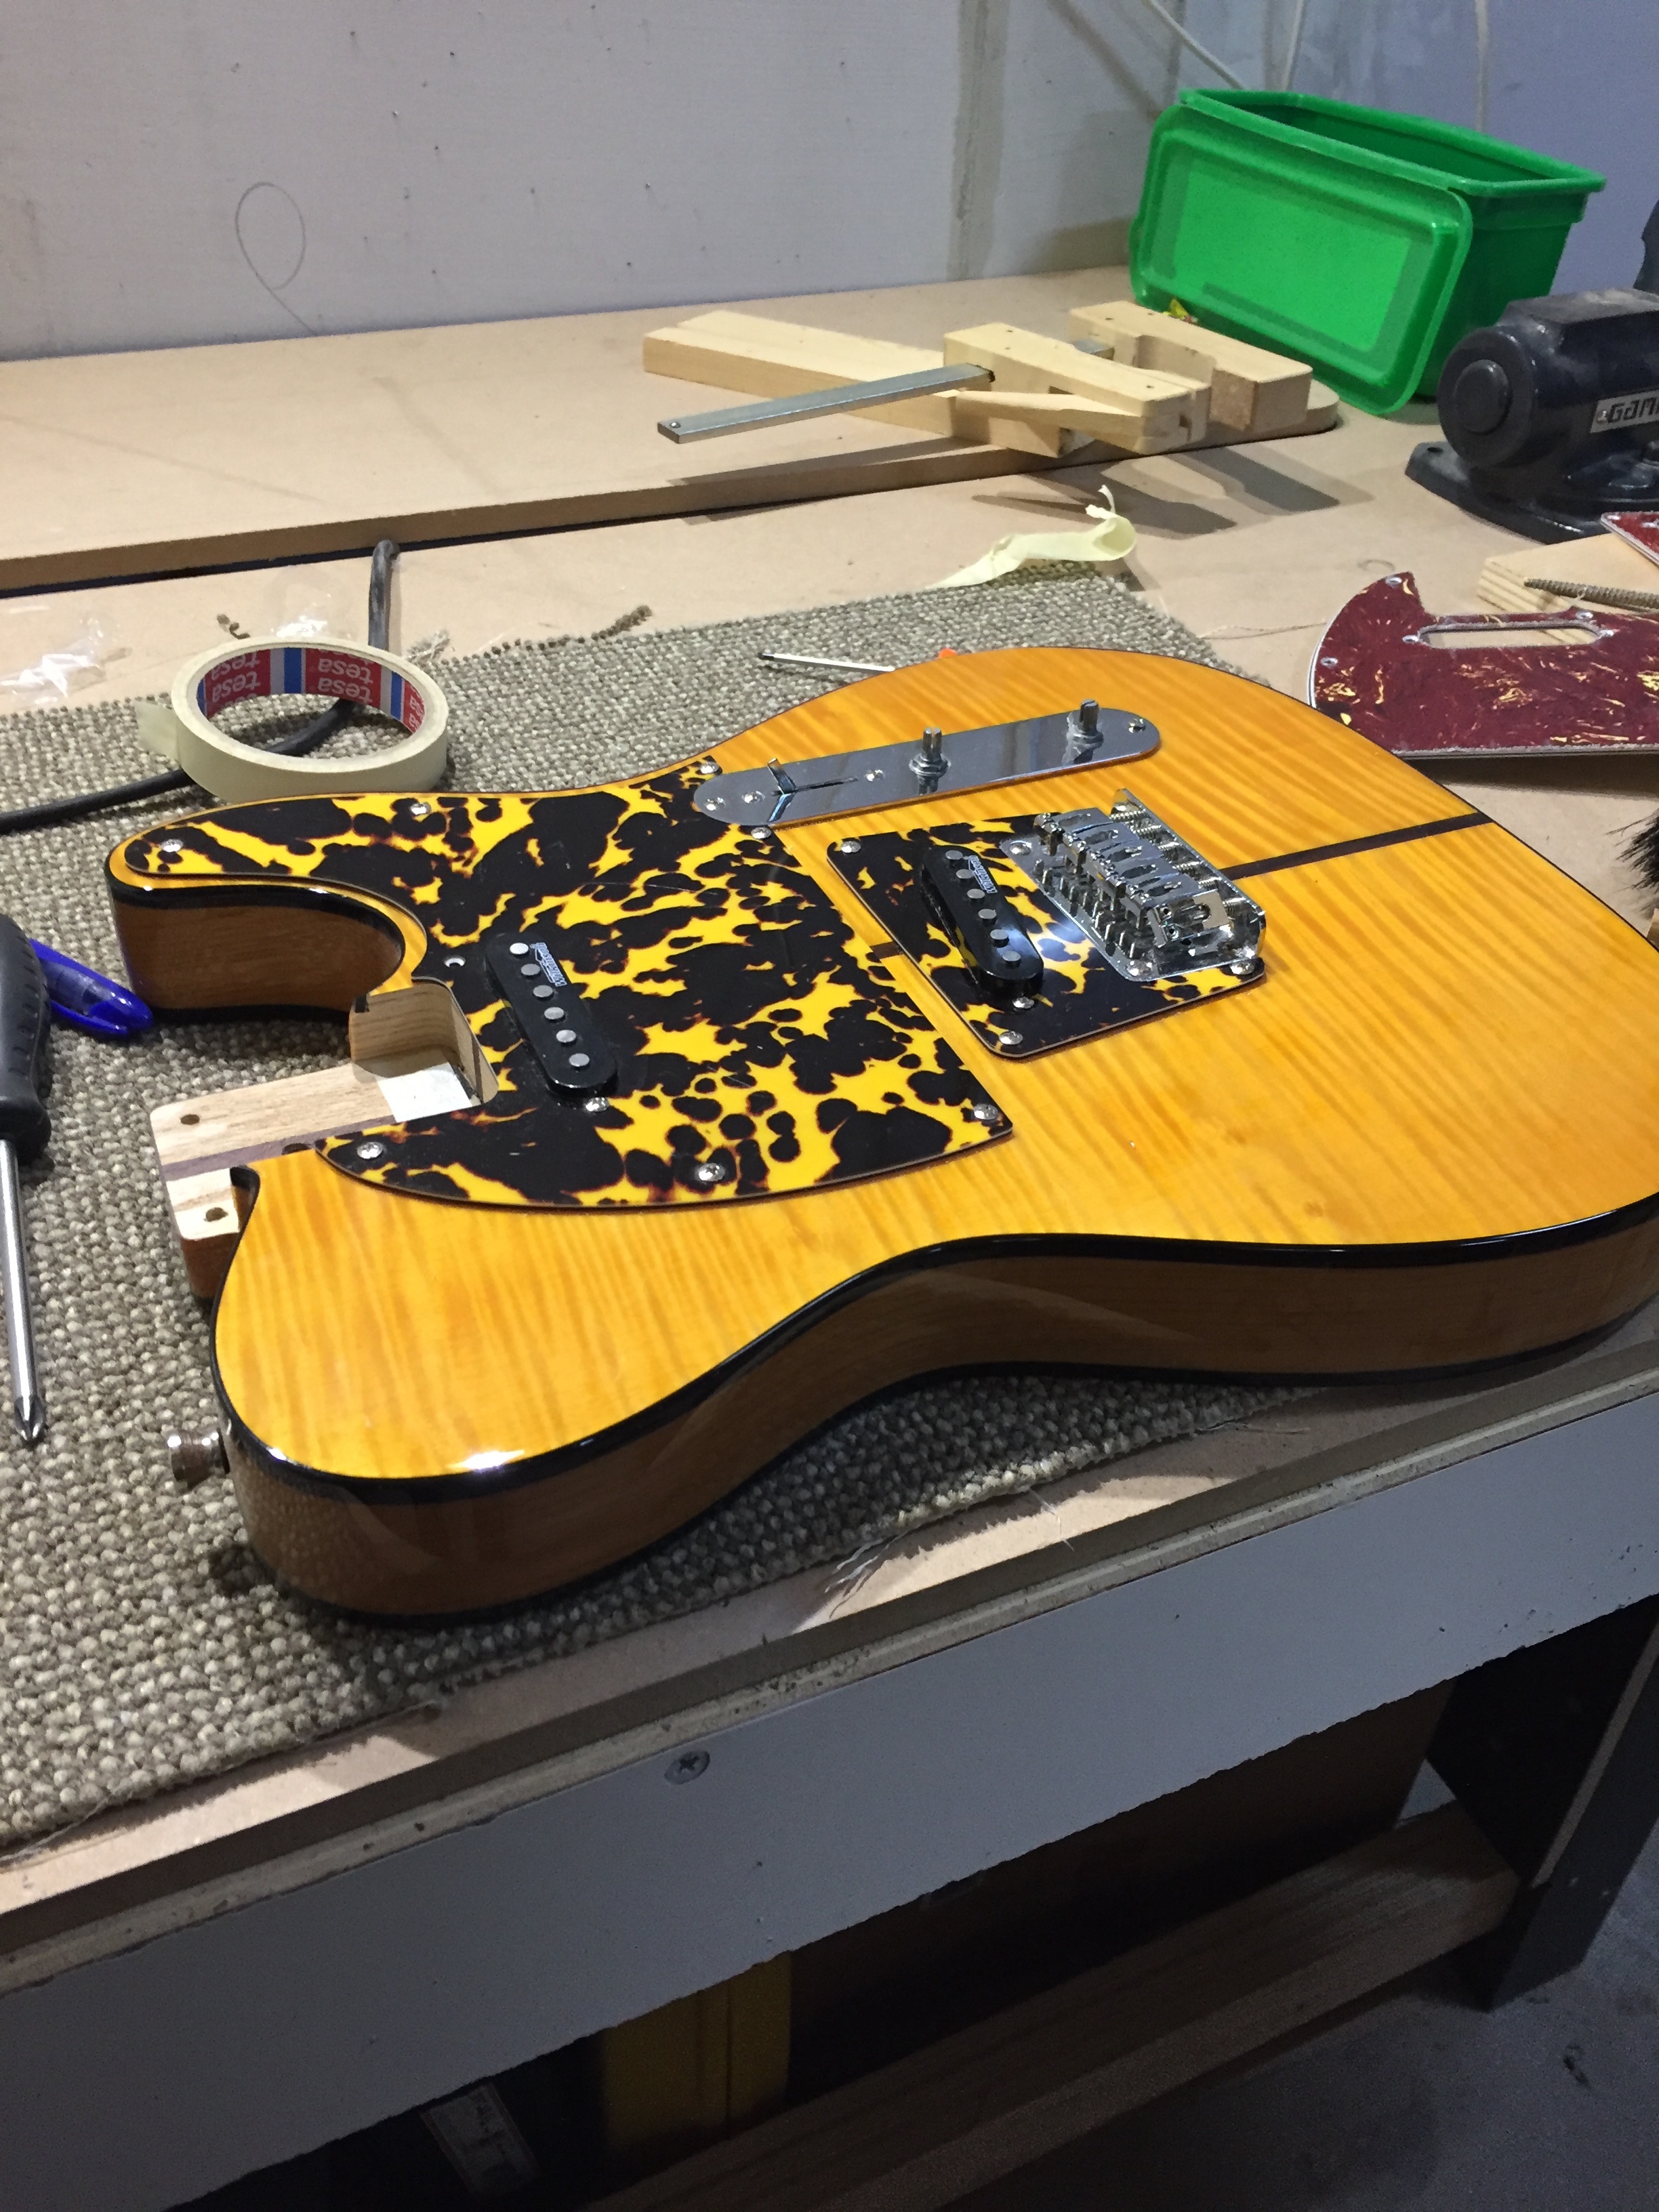
- The maple flamed top looks very nice. It’s not a photo-finish (it has a nice ‘depth’ to it which a photo-finish doesn’t have) but a veneer, probably 0.6 mm thick (standard veneer thickness). It also has some knots which gives it some character. Although when buying in a shop, I would look for the guitar with a perfect top.
- The body consists of 4 pieces of woord. Doesn’t have to be a bad thing. The back also has a veneer, sadly it isn’t a flamed maple veneer as on the top.
- Hardware looks and feels OK. Nothing special.
- The nut is made from cheap plastic, need to be replaced asap.
- Neck has a nice satin finish. Really nice. In the beginning I thought the frets were a little too high for my taste but after picking it up for a second time it felt more comfortable. I also like the neck shape.
- Equipped with d’Addario strings! Nicely in tune and intonated.
Overall, a nice guitar considering it’s price. But there is one drawback (which can be fixed), the frets are not finished well. The fret ends stick out and that hurts your fingers. A guitar like that would never be able to pass quality control. For me it’s a 15 minute job to fix it, especially when I combine it with a nut replacement and an overall fret levelling. But a guitar in this state should never be shipped to a customer.
Everybody Always wants to know what the pick-ups sound like. They are Wilkinson pick-ups, I am not too excited about them but I am going to replace them anyway.
Sorry Thomann, the guitar in this state is a fail. Maybe it slipped through QC. But with nicely rounded frets I would really recommend this guitar, also for beginners.
Upgrading plans
- New (bone) nut
- Fret levelling
- Fret ends rounding
- Pickguard replacement for a more authentic look
Let go!
First I had to find some good looking pickguard material. I ended up with Boston PG-333-WCY. It’s three ply and the WCY probably stands for “WildCat Yellow” as that was on the back sticker. It is not see-through as the original is.
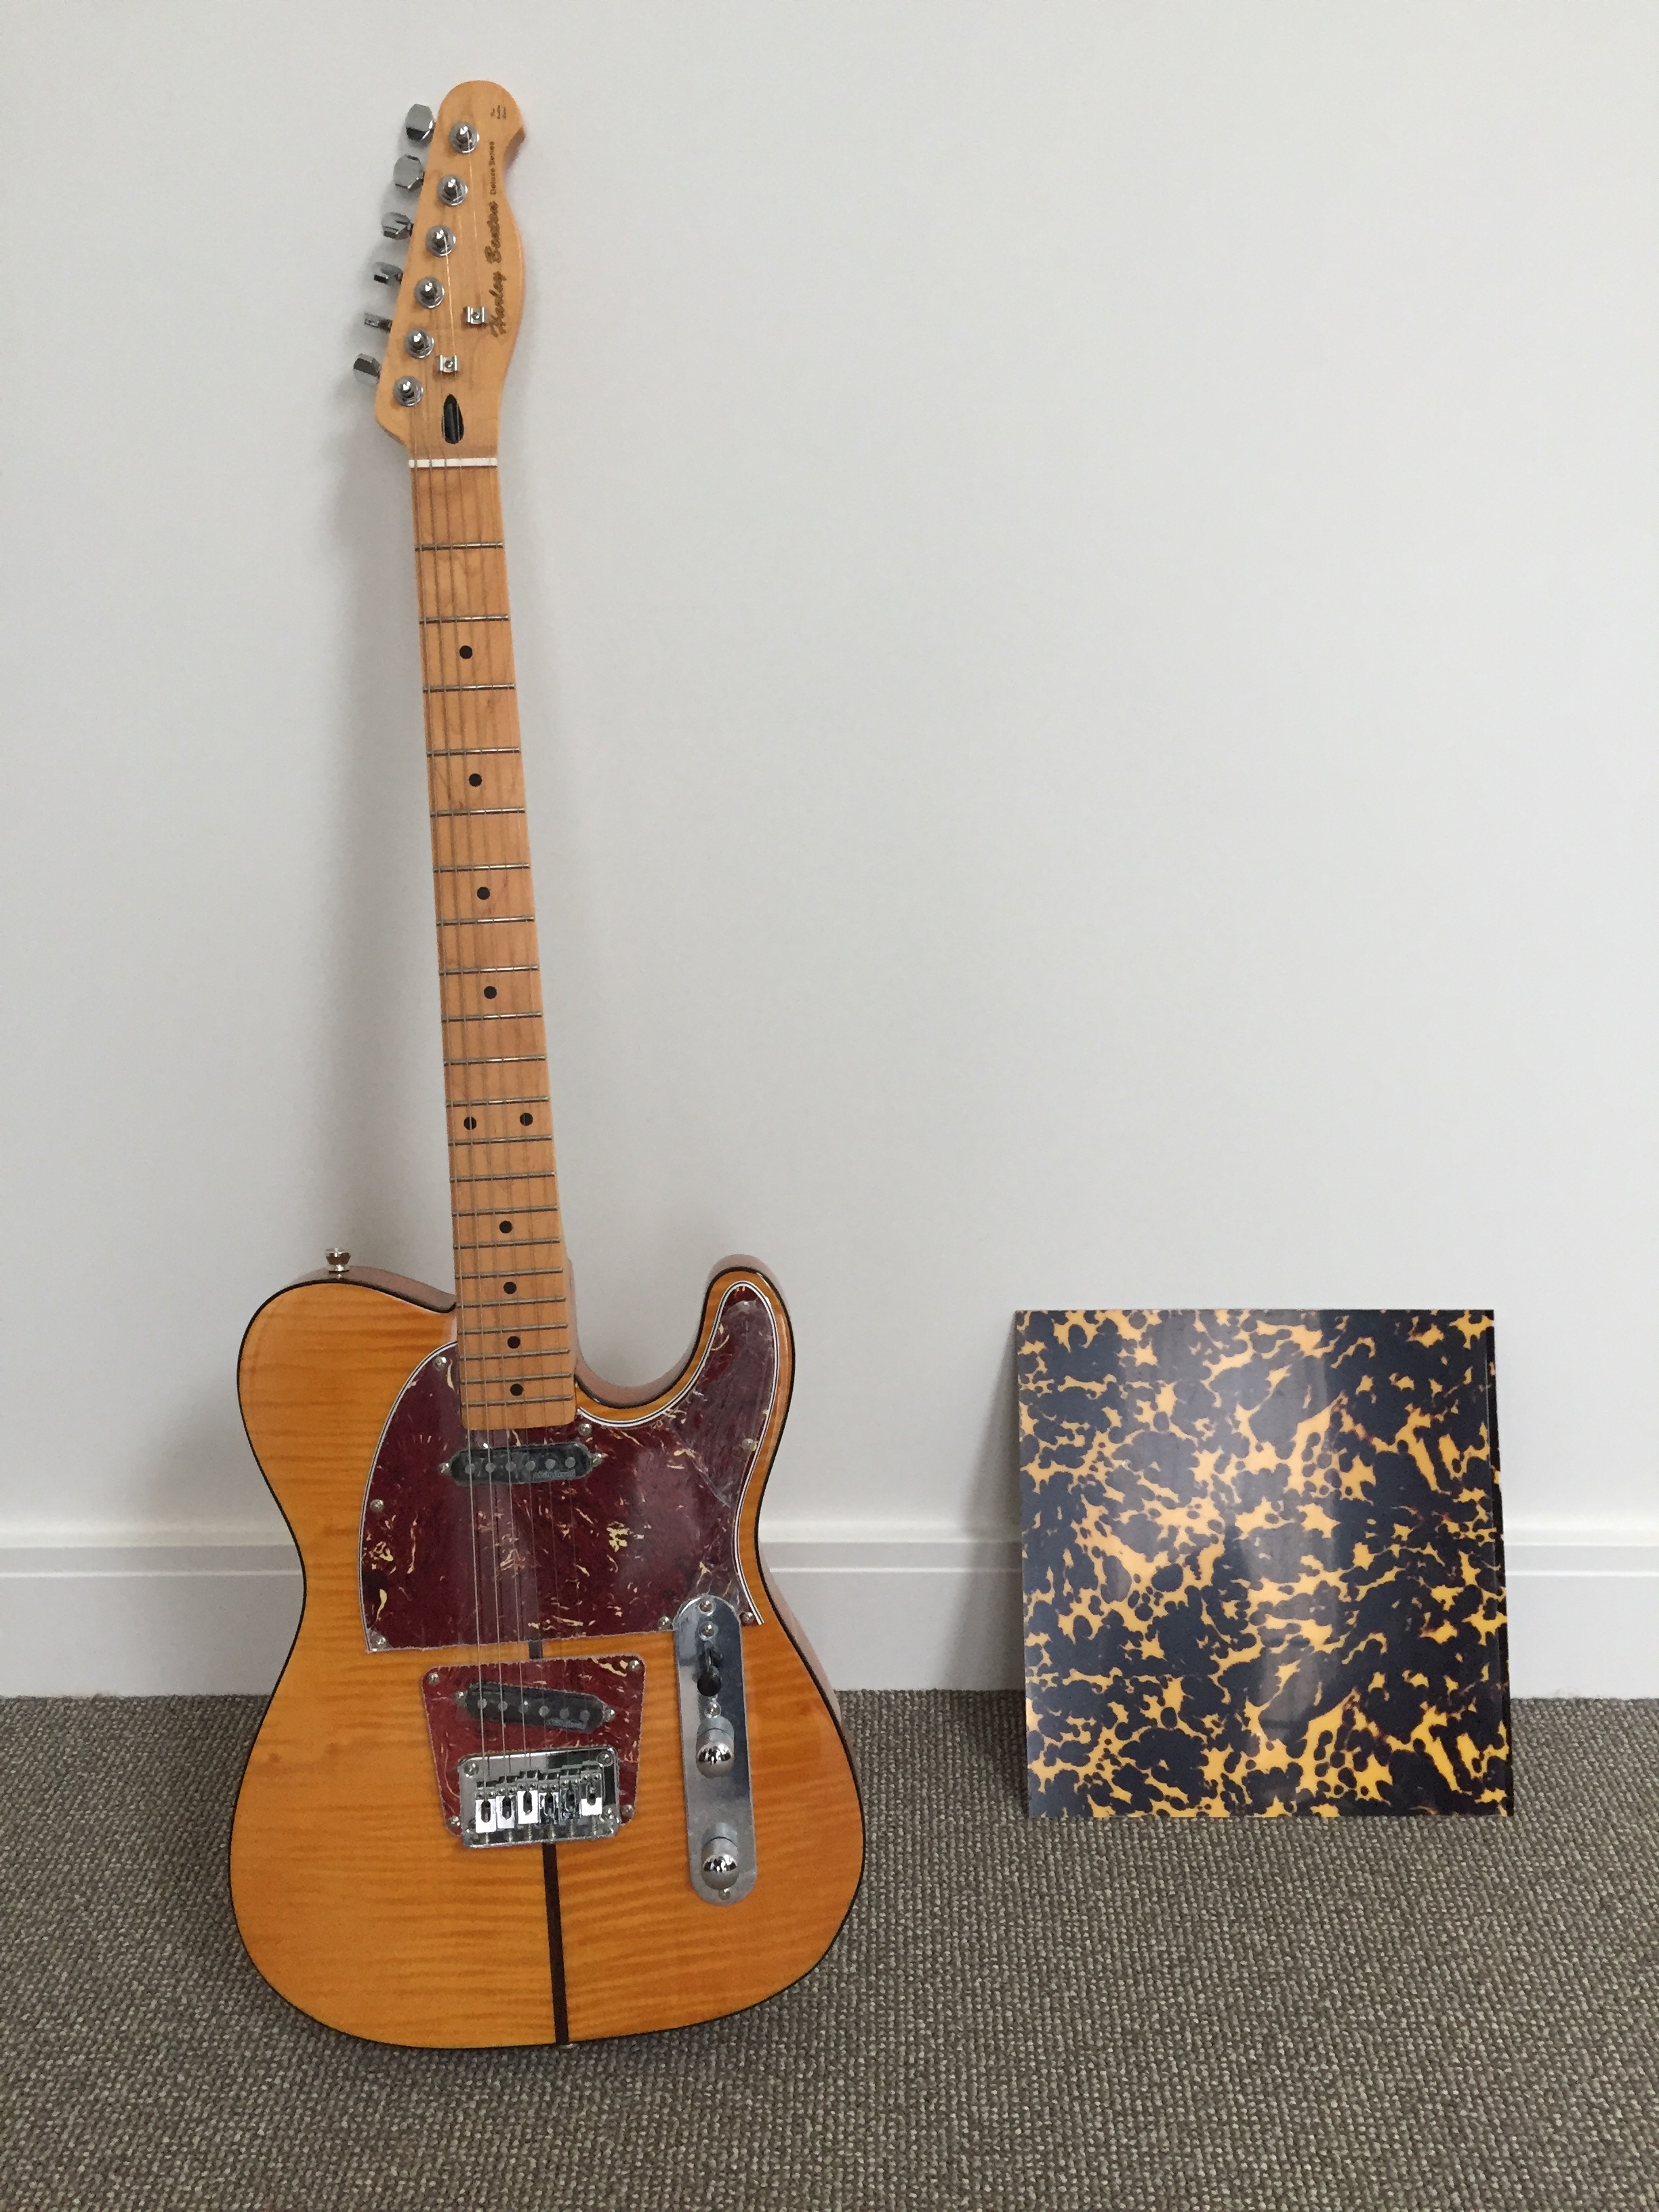
As you can see in the picture below, the original “pickguard” doesn’t fit perfectly around the bridge. The new one will!!!
Next step was to make some templates from MDF based on the original pickguard(s) and corrected where it needed to be corrected.

After roughly cutting the material and taping it to the template (I love double-stick tape!), it was time to use my homemade table-router:
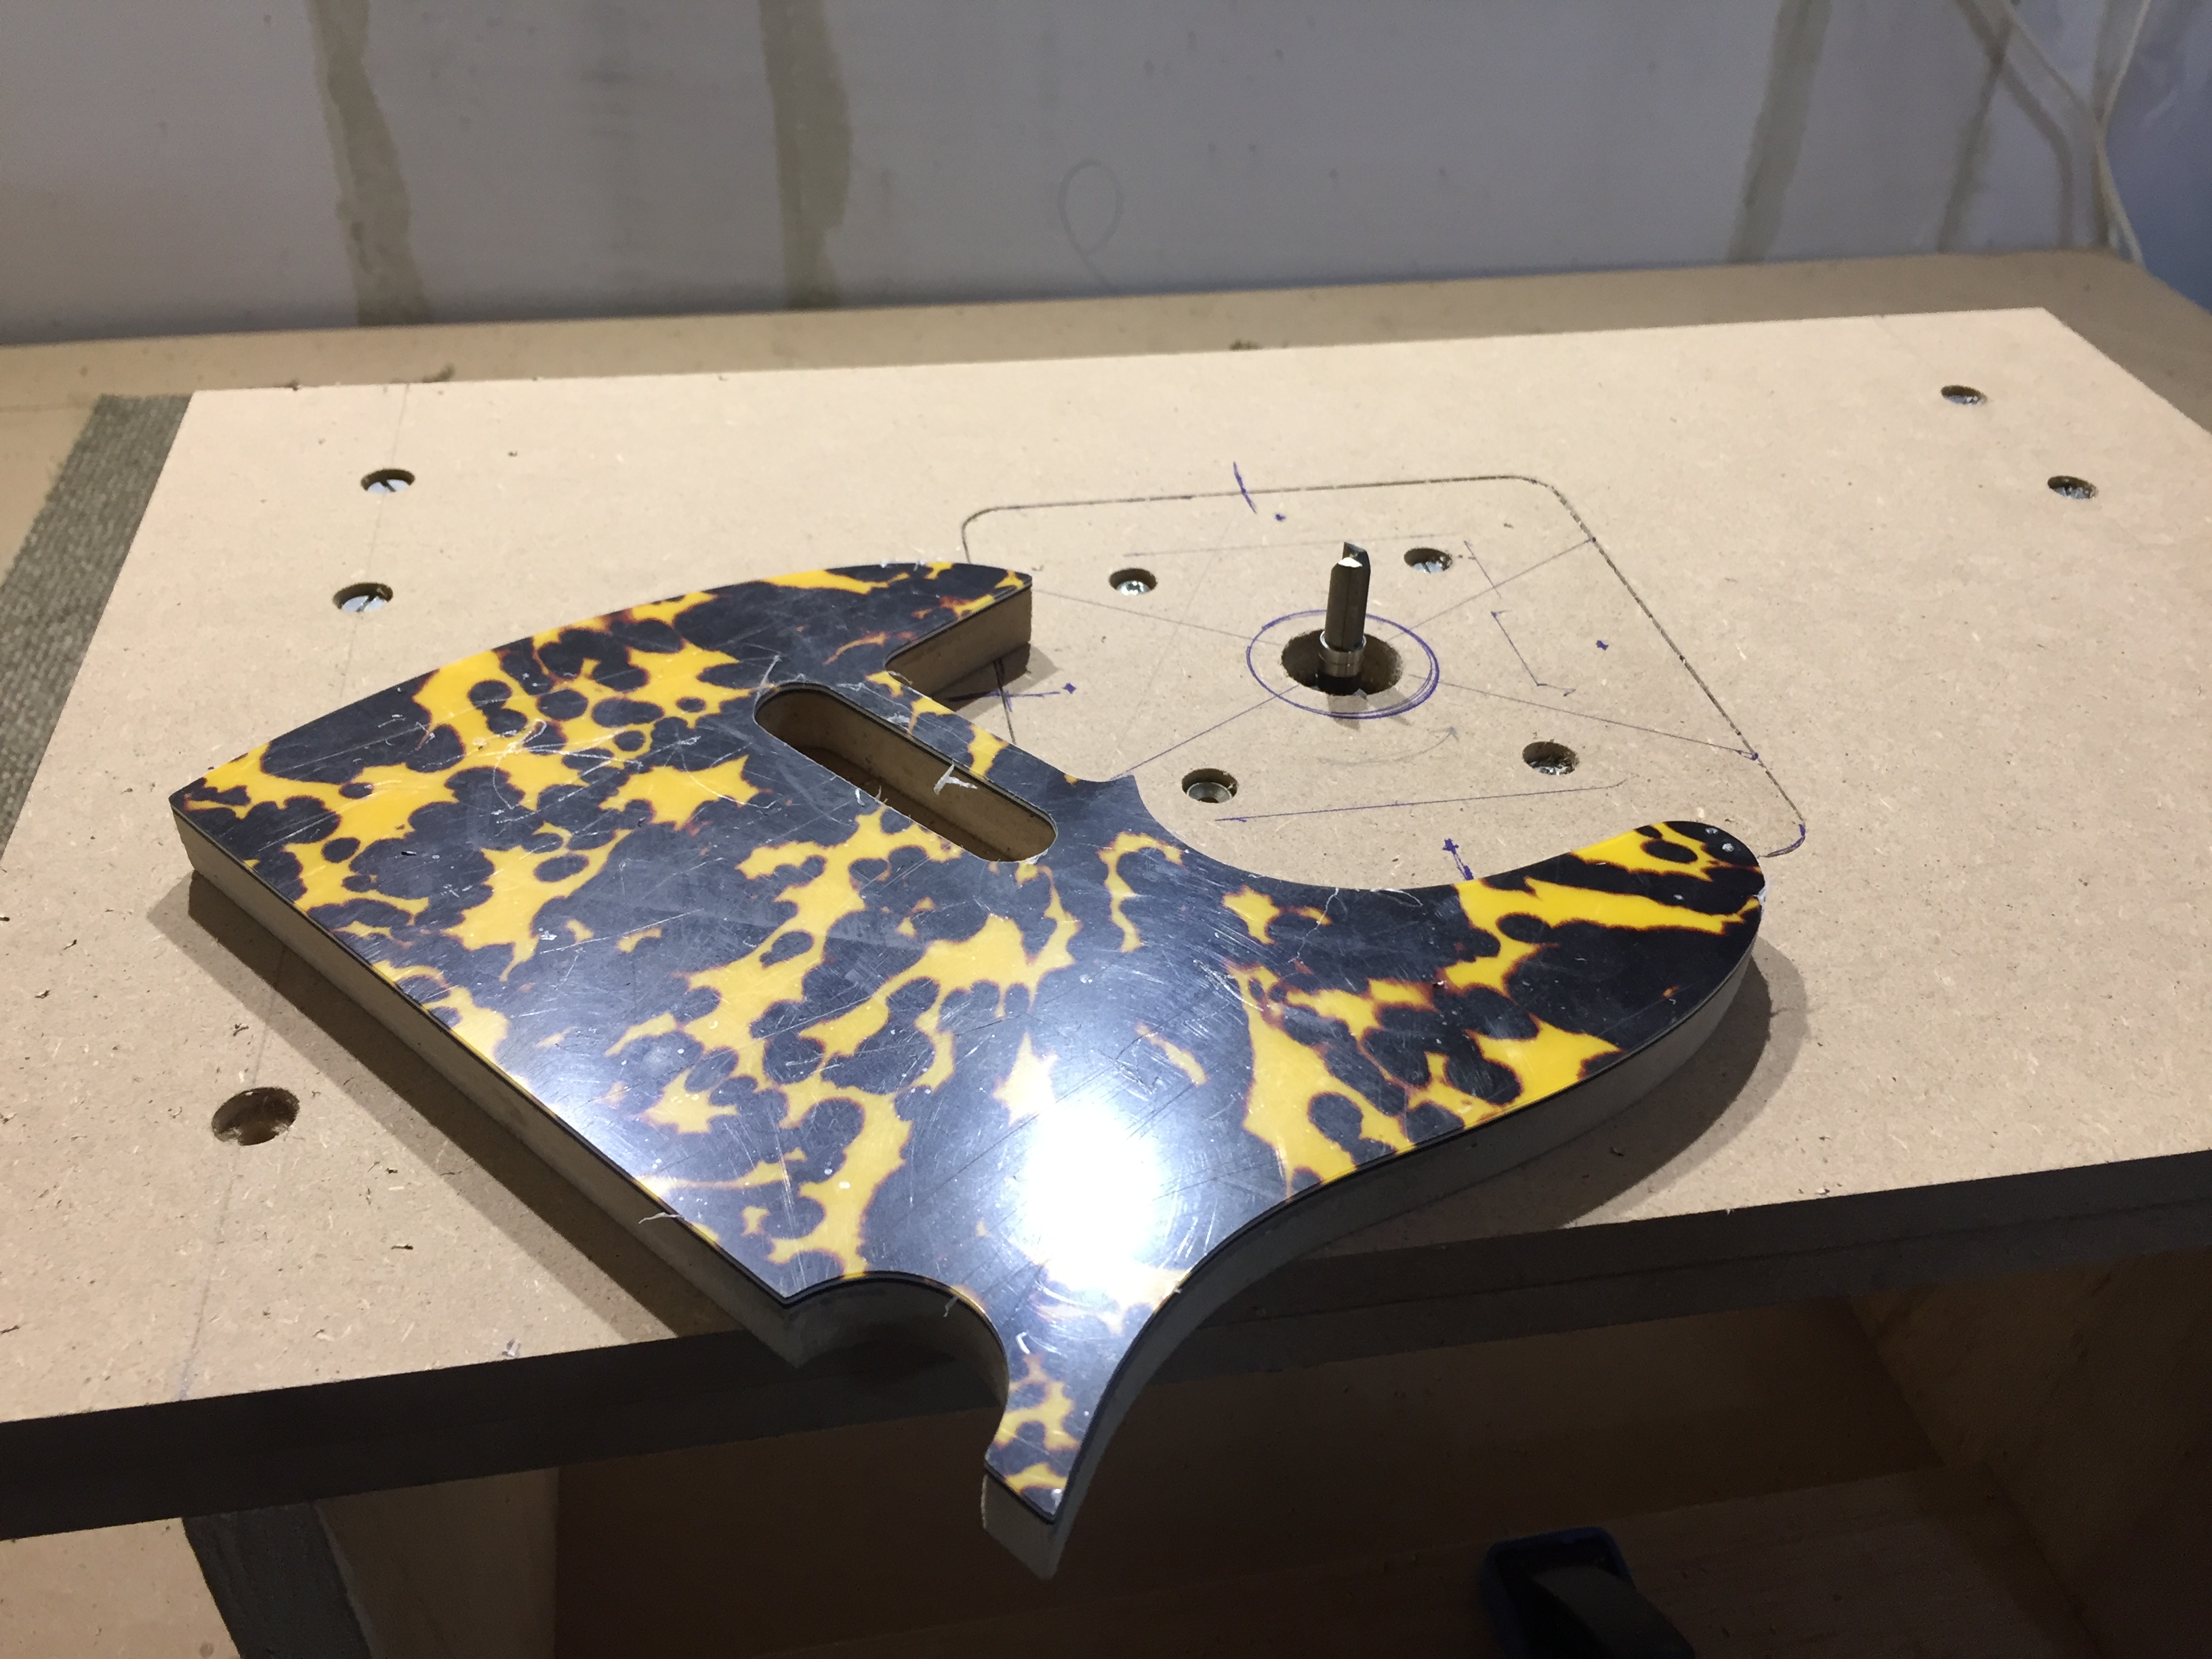
All went fine. Please keep the protection tape on the pickguard material, it prevents scratches.
I did’t dor any rounding of the edges, otherwise you would see that it is three-ply material. After that drilling the screw holes and finishing them with a rounded bit so the screws will fit perfectly.

Now for the headstock. I got a bit bored with the Harley Benton logo so I attempted to remove it with a little bit of sanding. But it turned out that the finishing layer gave the yellow coloring. I had to remove everything from the headstock….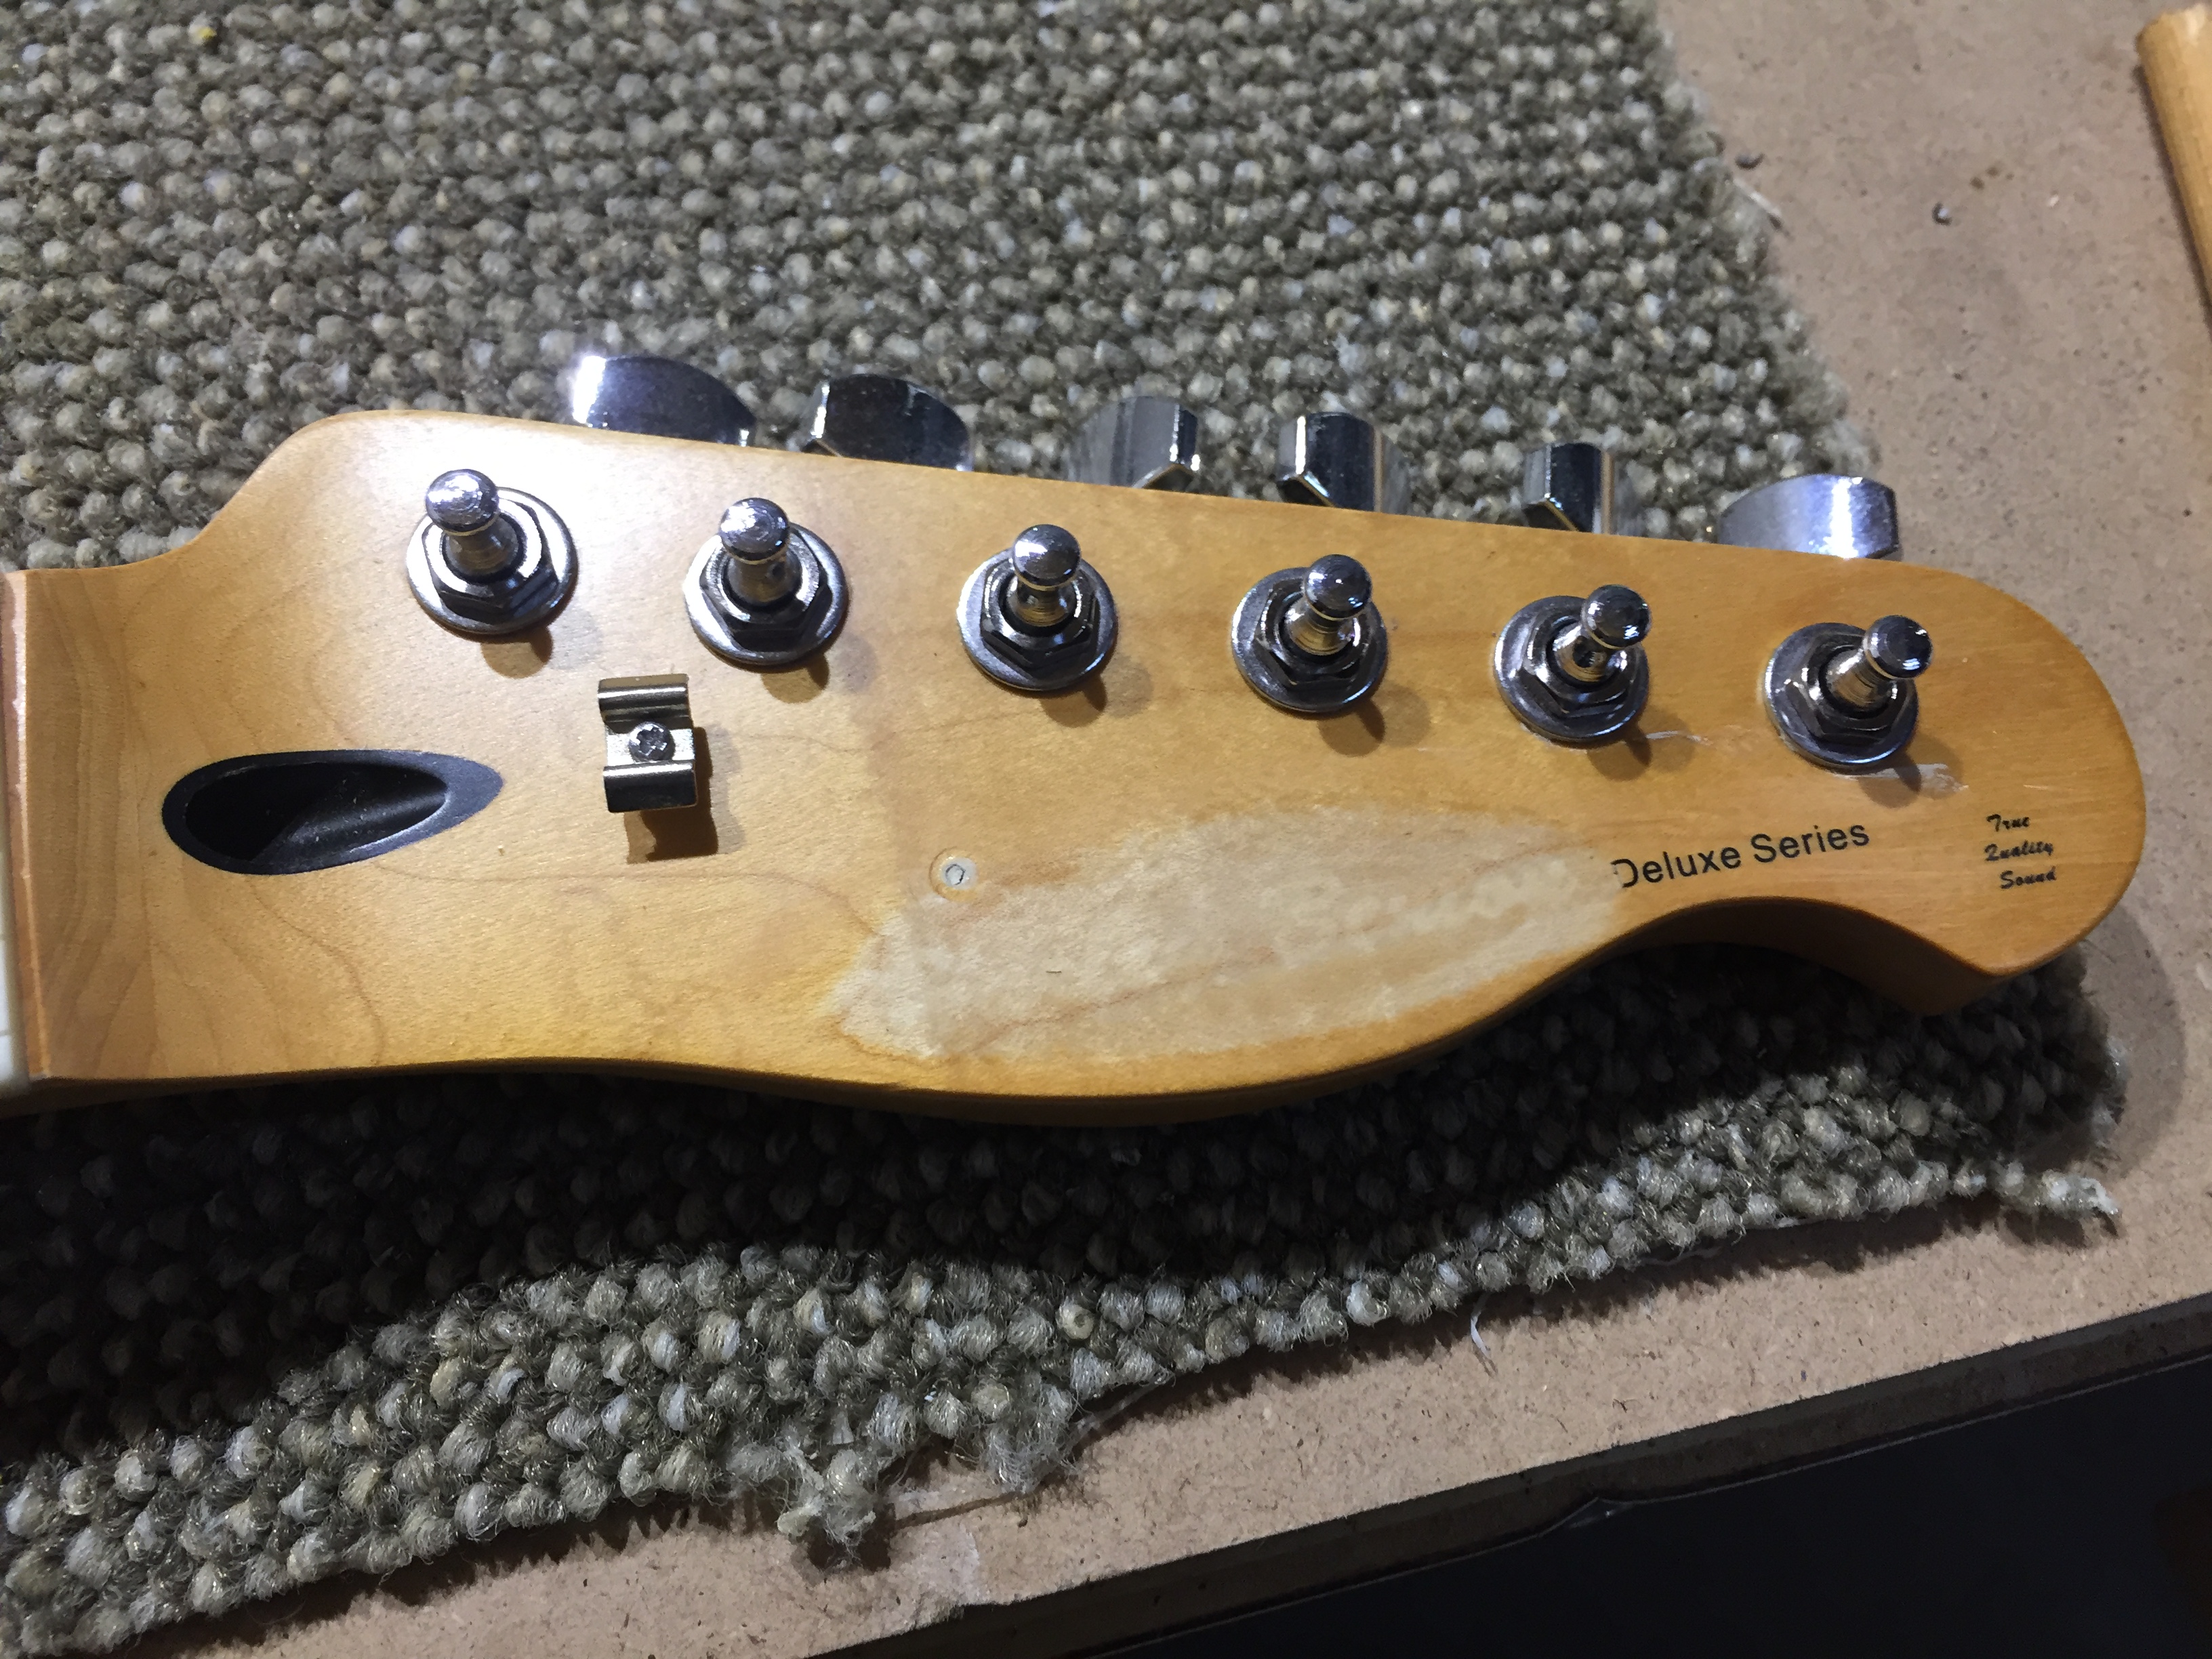
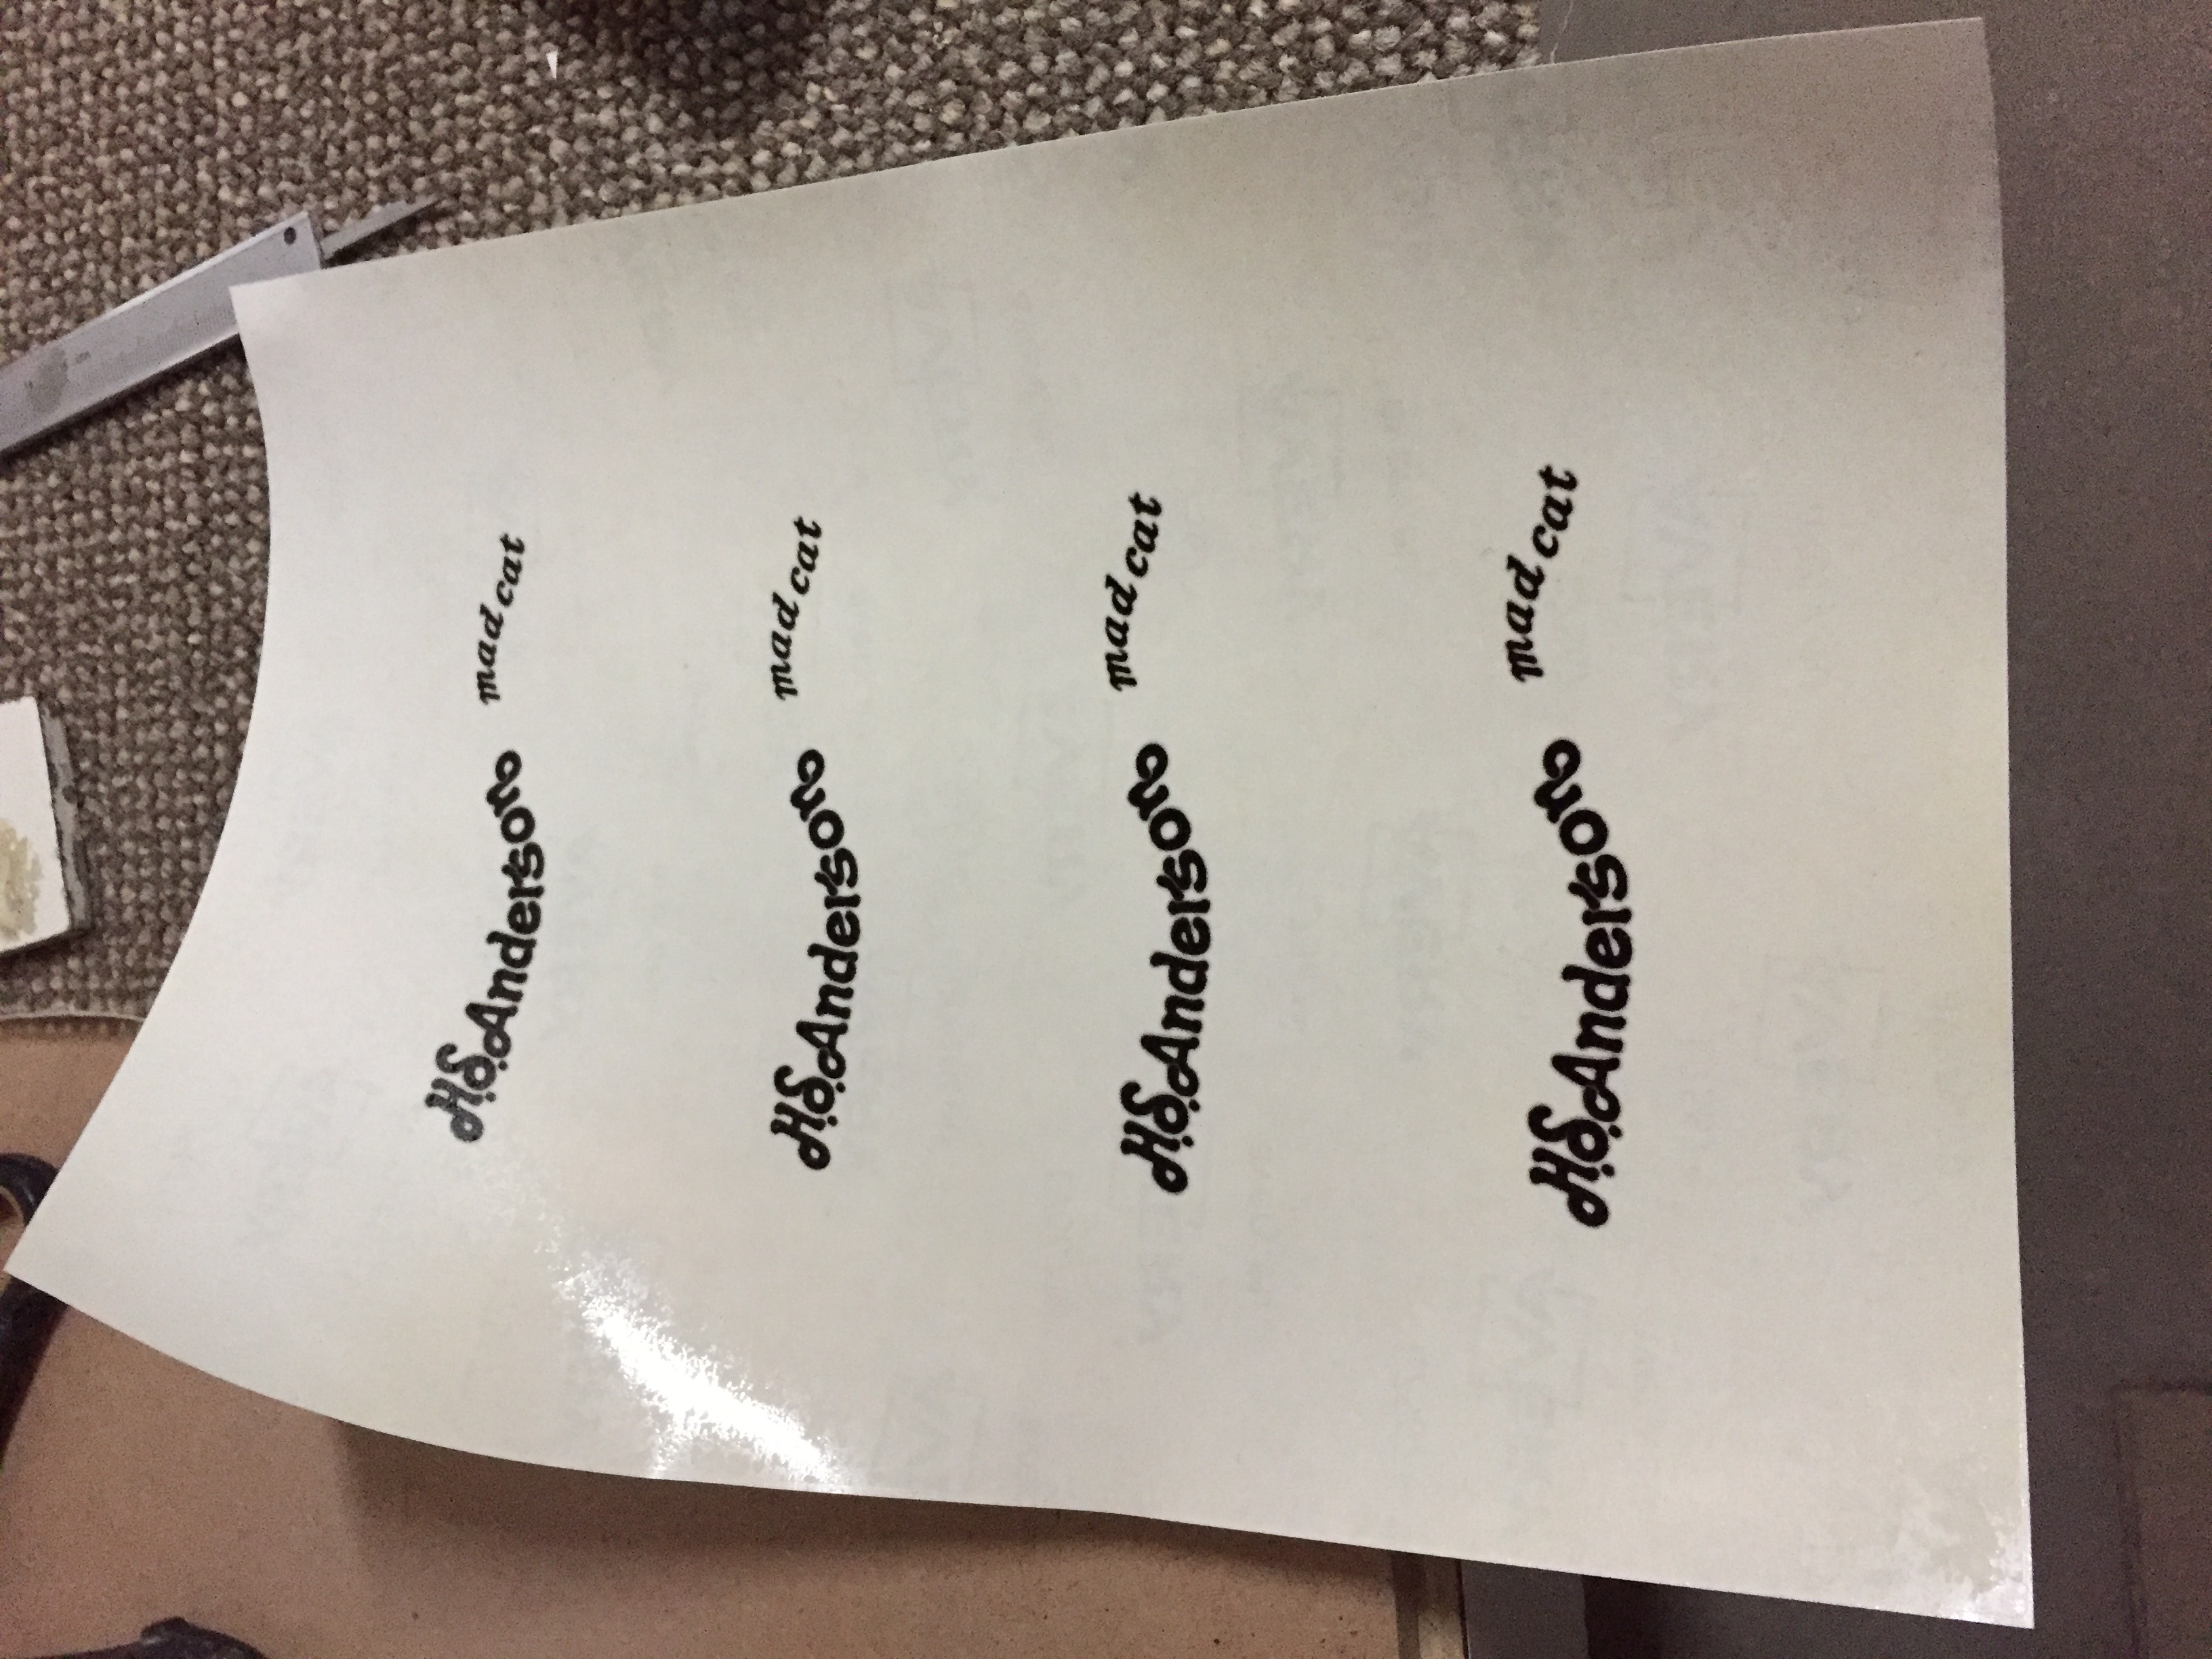
I was able to find a matching logo on the internet. Reworked it in my favorite drawing program Inkscape and printed several logo’s on Avery transparant label paper. A couple of clear coats to stabilize the prints and you’re ready to go.
First I sprayed some nitro yellow see-through lacquer. And after drying its time for test-fitting: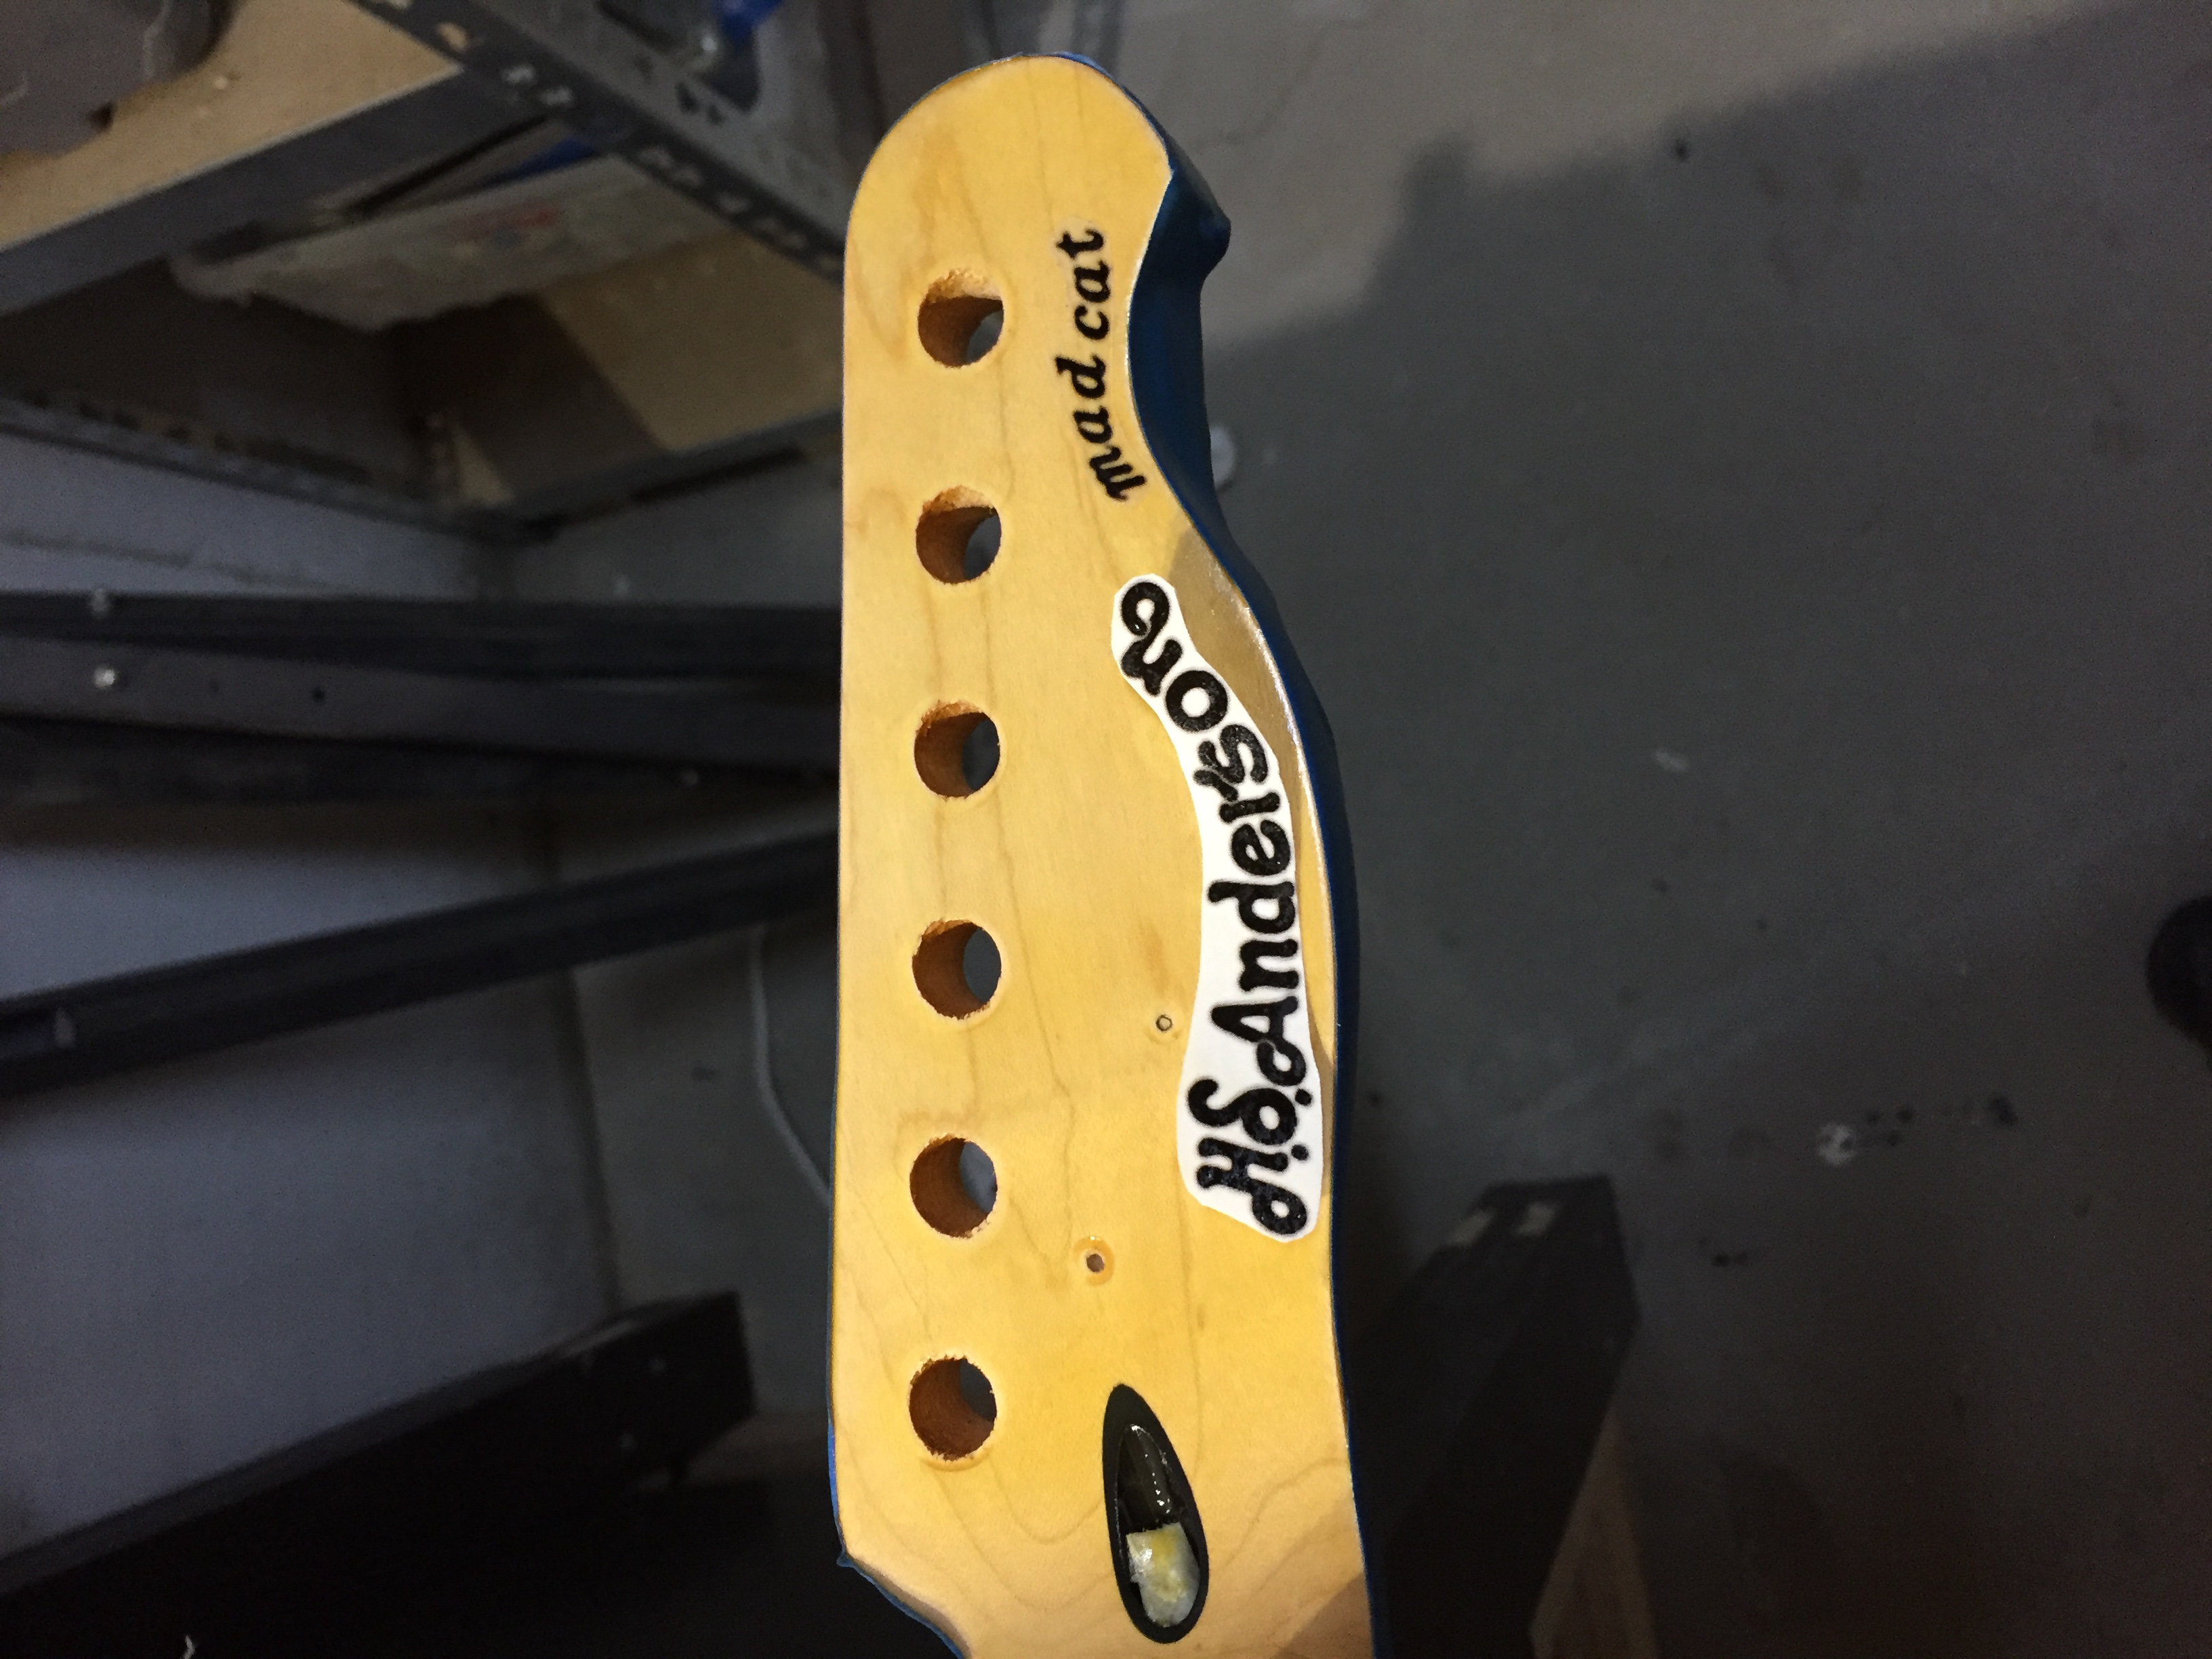
Sticking the logo on the headstock and then it’s time for quite some layers of clear coat.
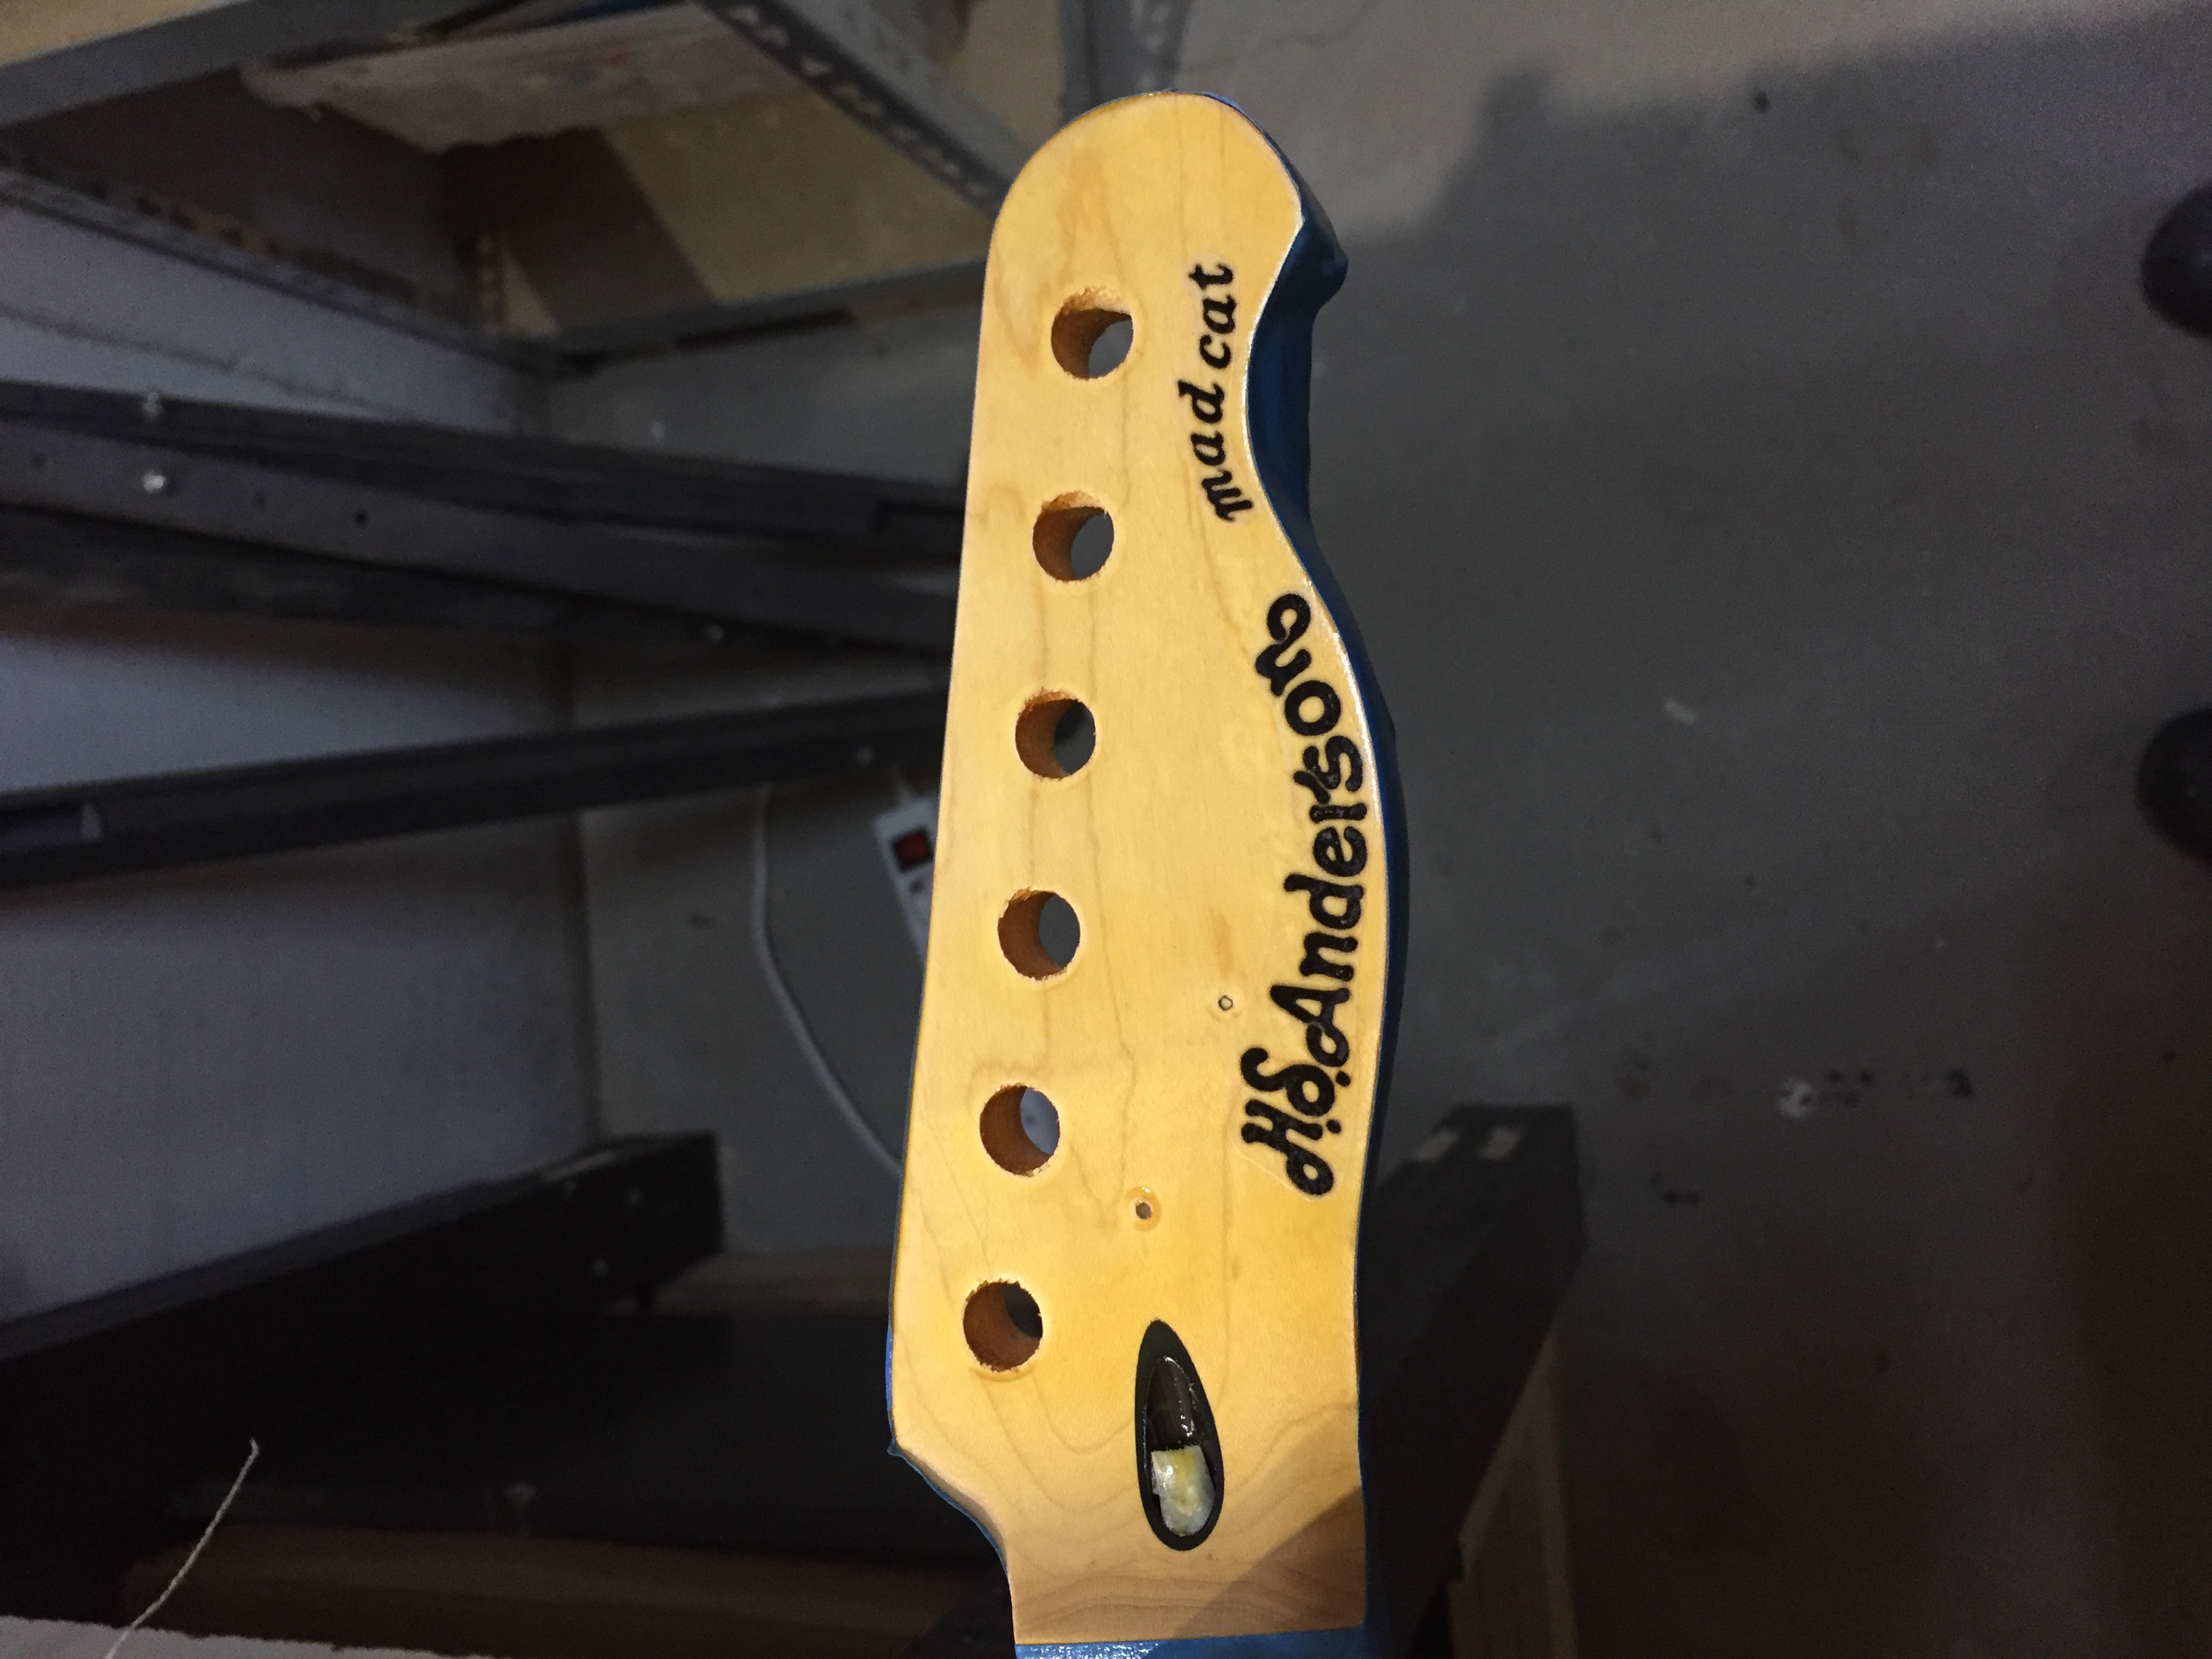
The end-result after polishing:


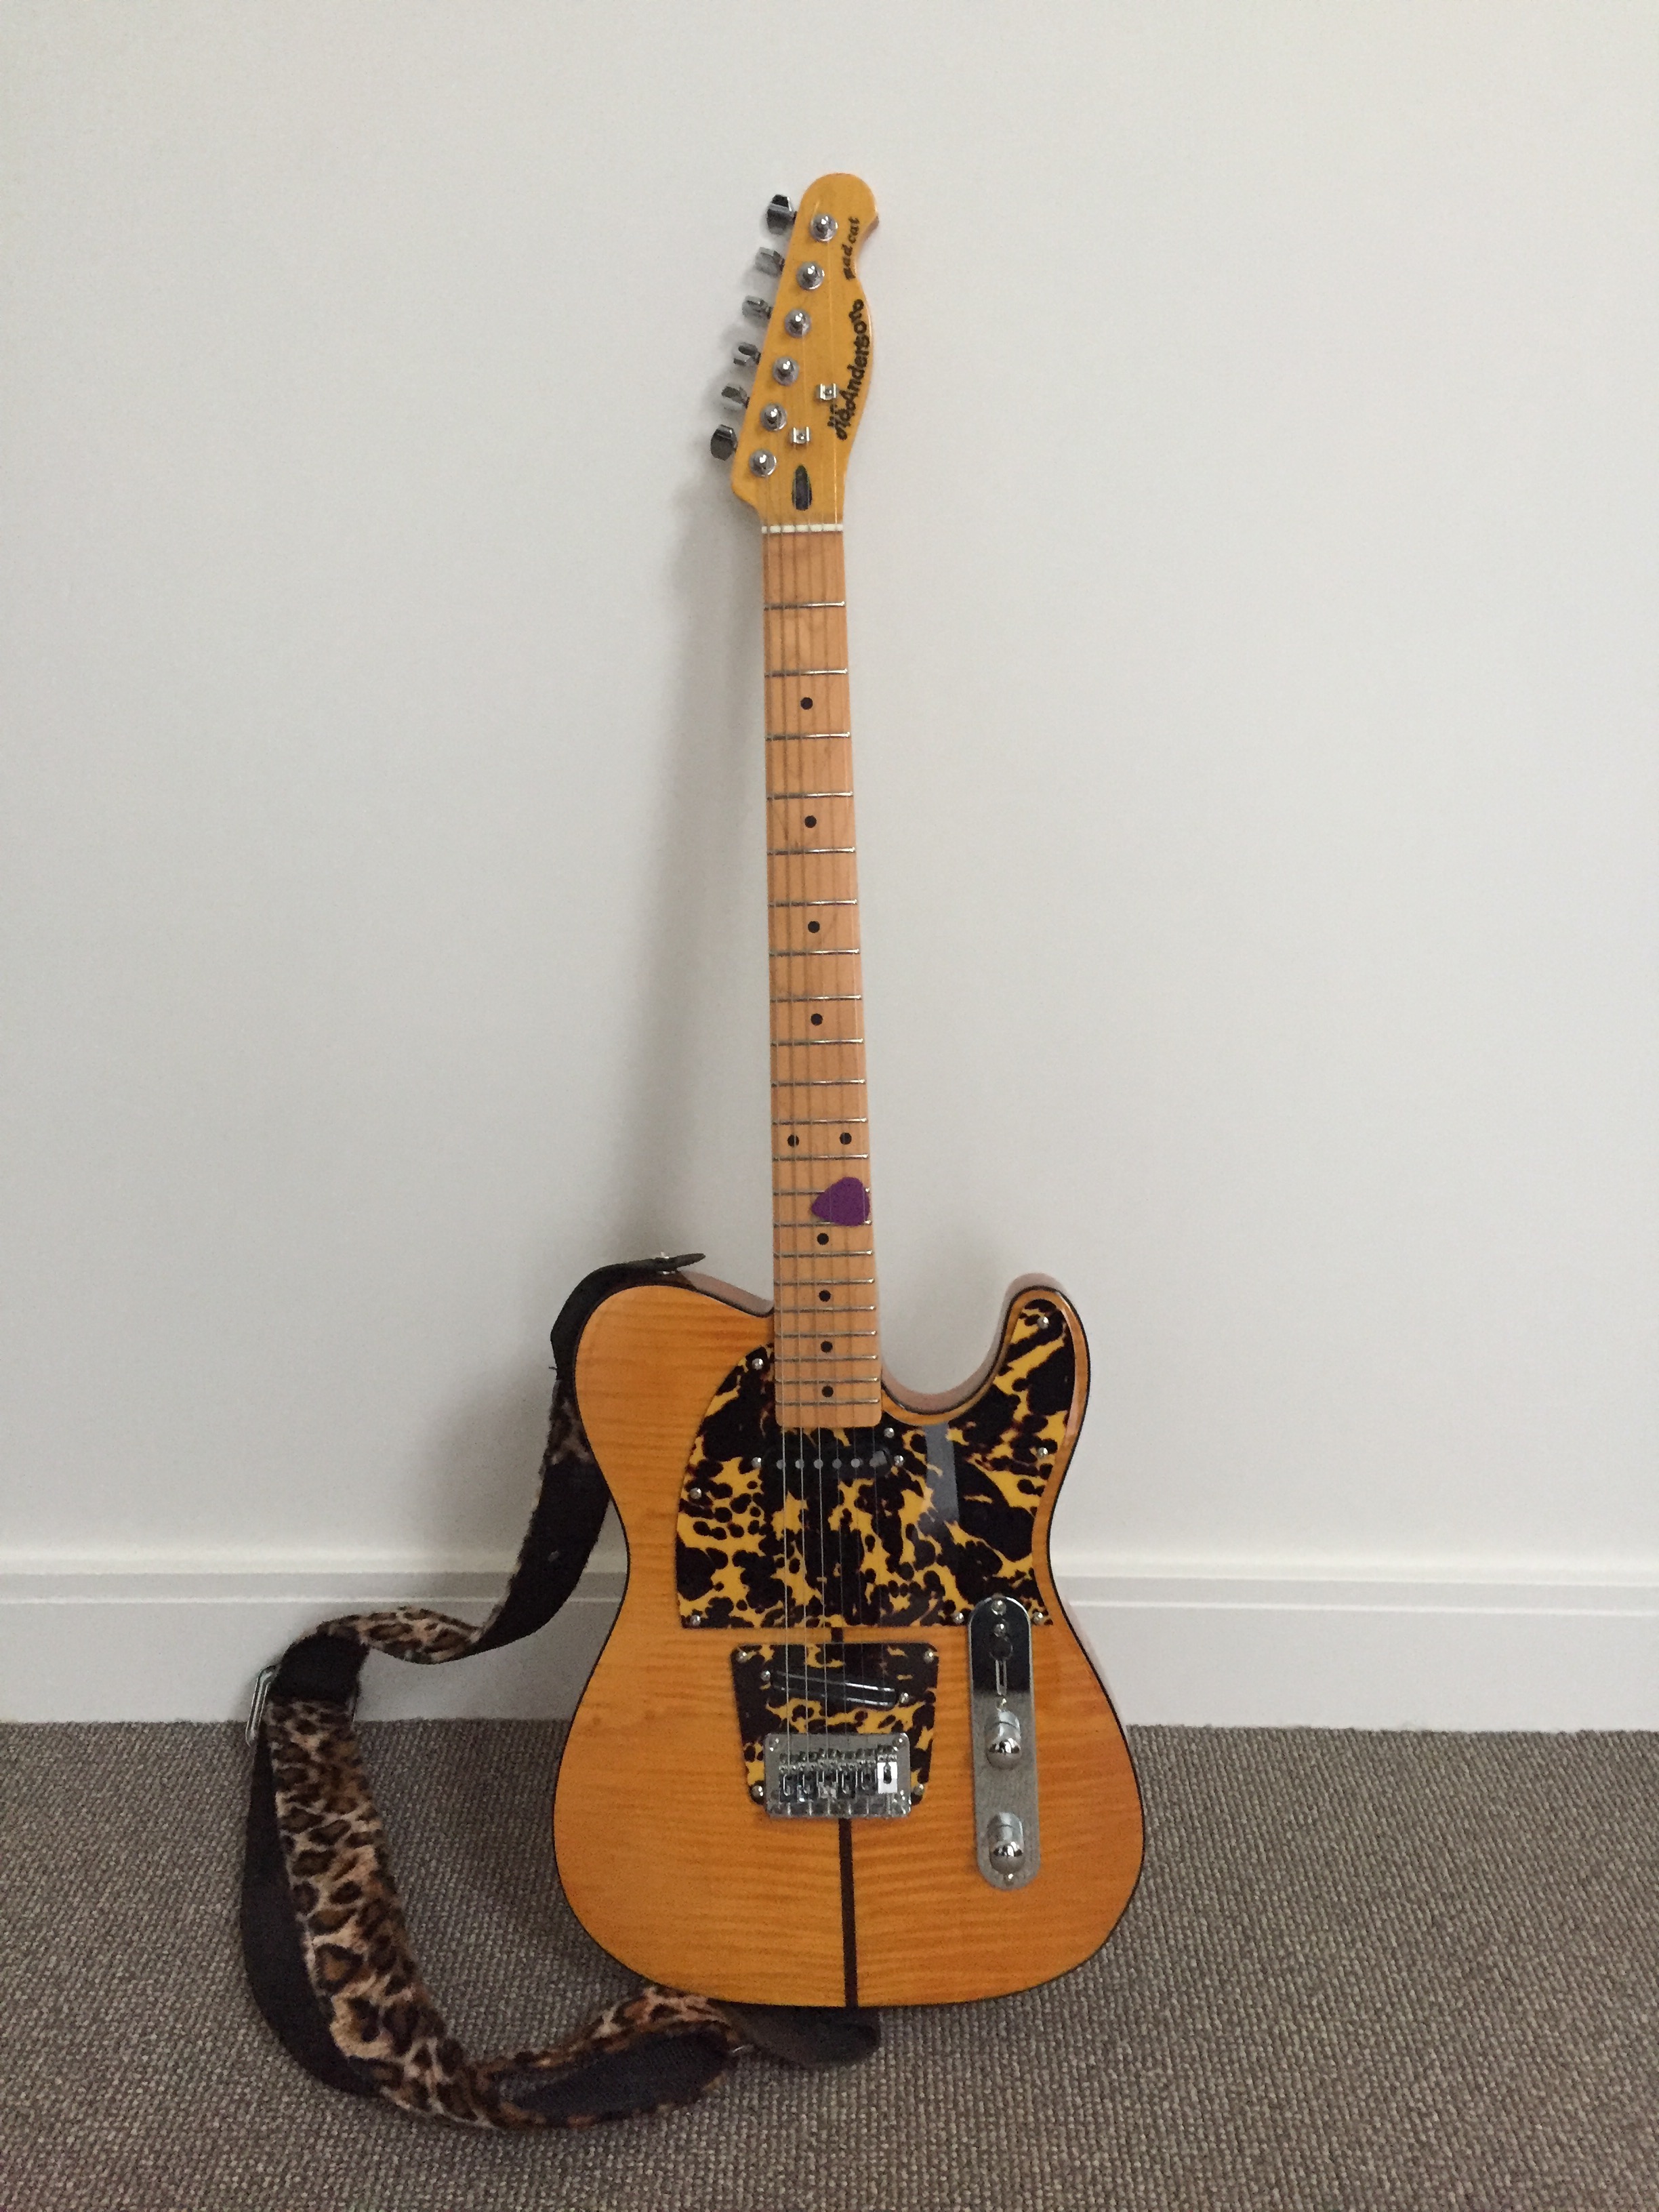
I also did some fret leveling as the neck was detached from the body. I made a new (bone) nut, replaced the bridge pick-up with a GFS Lil Killer rail pick-up I had lying around which gave the following result (with matching leopard strap):
hi, i own a te52 and i would like to change pickguard. Do you have a dwg file or something else that explain the screw/pickup holes measure to share?
many thks
Hi, I can give it a try. Do you want to replace it with a ready made pickguard or do you want to make a pickguard yourself? If you make the pickguard yourself, it’s easiest to use the original pickguard as a template. If y’re looking for a ready made pickguard indeed the measurements are very important. Thomann.de sells replacement pickguards but only in white and black. I’ll see if I can make a design this weekend. Ed
I have the exact guitar and wanted to upgrade it to Prince guitar as much as it is possible. What pickups did you put in? And did you change pots and switch? Other hardware? Do you have videos of making the upgrades?
Hi Elvis, sadly I don’t have a video doing the upgrade but I will share some pics. I didn’t do a complete upgrade, only pickguard replacement, fret leveling, new nut, new logo and I replaced the bridge pick-up with a pick-up I had lying around (it’s a GFS “Lill killer” – nothing special). Next upgrades would be new tuners and a new bridge. Pots and other hardware are OK but again nothing special. If this guitar would be the new “work-horse” these would also be replaced. But I find the neck too large so I prefer other guitars. Hope this helps! Ed
Hi there!
Is there any way you could get me a copy of your decals file?
Want my Luthier to make me something like this.
Would be much appreciated!
Great stuff! Thnx for your article!
Kind regards, Wybrand
Hi Wybrand, I’ve added a picture (the largest I had) of the logo in the article. Sorry for responding so late but I have been very busy lately. Good luck with your project!
I really want to get that guitar but at the time of research (June 2022) it’s £155 (€180). I have a budget of £1000 (€1162) and thought about doing a Part-caster with the body, as that’s the main reason I want this guitar.
How possible would it be to upgrade the neck and hardware to Fender Telecaster parts in your opinion?
Hi Fred, I don’t know the exact measurements of a tele replacement neck but the HB’s neck 55,4 mm at the 16th fret (where neck goes into the neck pocket) and 56,9 mm at it’s widest. The neck pocket depth measured from the middle of the 16th fret is 78,0 mm. I wouldn’t bother upgrade the neck with a Fender version. The neck is quite wide with a glossy finish and is OK. The tuners are cheap so you better replace them (as for all the hardware). The fret sprout was terrible so you need to have this fixed. I also did a fret leveling job, replaced the nut and replaced the logo. Buy the guitar and do the jobs yourself or have a luthier do it for you. Basically it’s a good (but heavy) guitar, new hardware and some fretwork and y’re ready to go. Good luck!