A new headless work-horse!
Somewhere in 2016, I noticed that one of my favorite guitars – a 2000 Hohner G3T – had some issues. This guitar has a so-called zero-fret (so there is no nut but a fret at the location where you would expect a nut) and this zero-fret had some serious fret wear. An easy job to fix but it made me think, don’t I need another one as well just in case other problems show up.
So I started to wander around on the internet. These Hohners are not being made anymore. There are other cheap-looking copies and even the Steinberger brand issues new headless guitars, but they are bariton models and have all these options I don’t like and are missing the options I love.
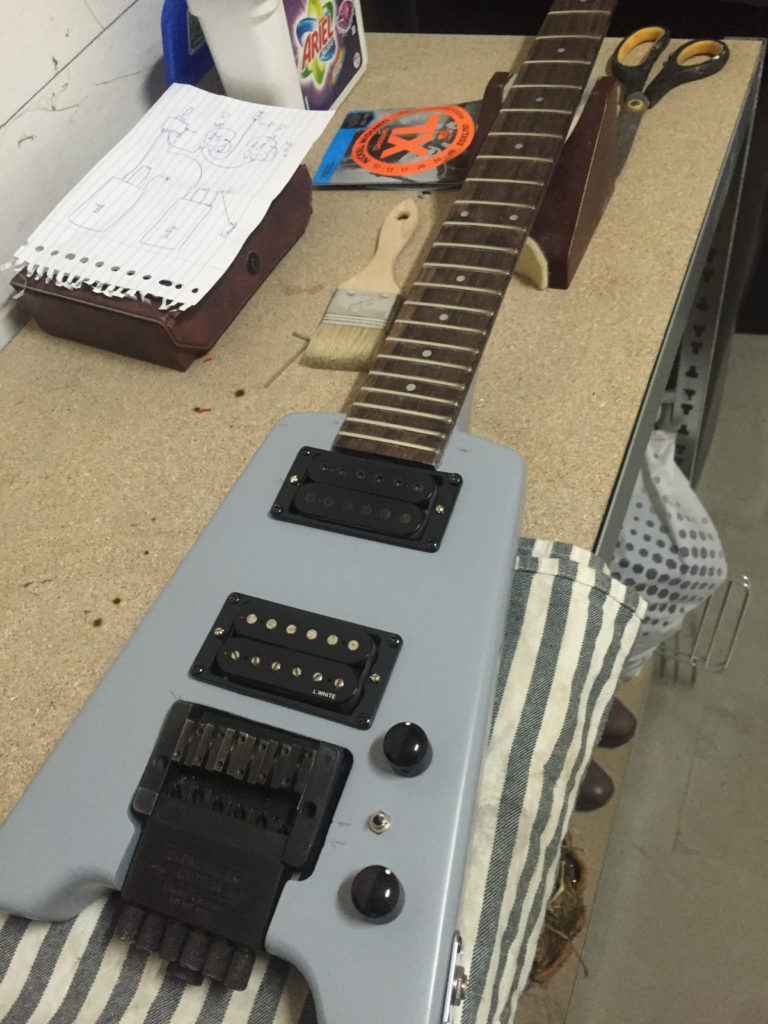
Anyway, my last resort is the second-hand market, what is available? Nothing on Ebay but there was a listing on the Dutch “Craigs-list”. Originally it looked at a 200 Watt Higher & Kettner Attax amp but the seller also had a Hohner G2 (two humbuckers instead of the H-S-S set-up of the G3T) for a reasonable price. And it was in the city where I work so it couldn’t be easier.
I contacted the guy, he sent me some additional pictures and I could see that he did some -lets put it politely- handwork to it. Anyway, it was a cheap guitar so let’s close a deal. We made an appointment, exchanged addresses and it turned out he lived on a farm completely on the opposite side of the city where I worked. Basically not even in the city but right in the middle of the meadows.
Mmmm, I didn’t have access to a car the day of our appointment but public transportation was available (bus) with a stop almost in front of his farmhouse. So I got myself on a adventurous trip which lead through parts of the Netherlands I never visited before. It was November, dark, rainy but after a trip of an hour I got where I had to be.
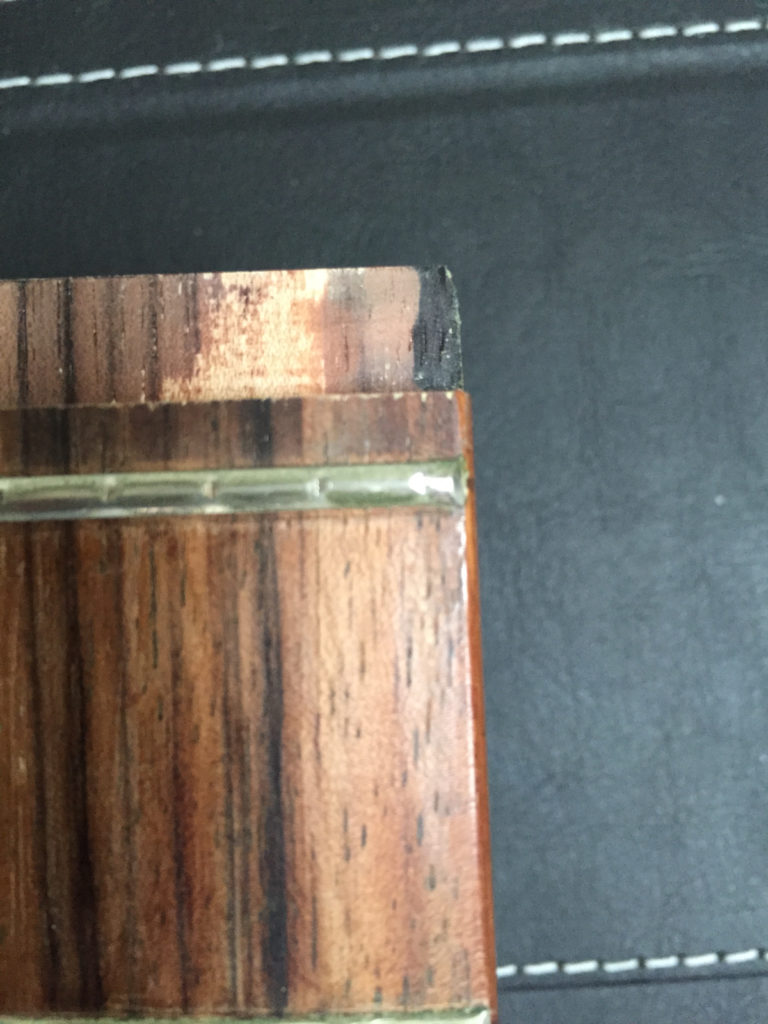
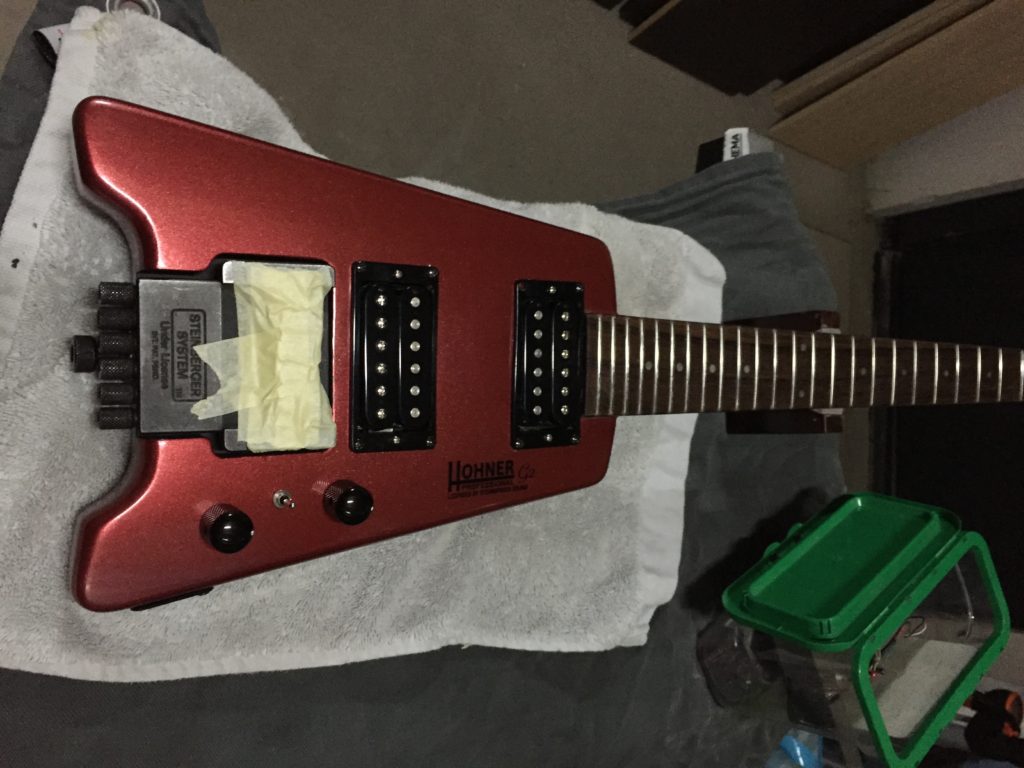
The next challenge showed up. Indeed the busstop was in front of his farmhouse but there was a ditch in between so I had to walk (through the rain) all around his estate to reach to the front door. Completely wet, my boots covered with mud I rang the bell and a very friendly man opened the door. The amp was already turned on, I played the guitar and he told me all about the history of the guitar. How he used it during gigs, that he hated the zero-fret and had it replaced by a real nut (cutting away a part of the head piece that holds the strings) and that he painted the guitar himself, simply with a brush.
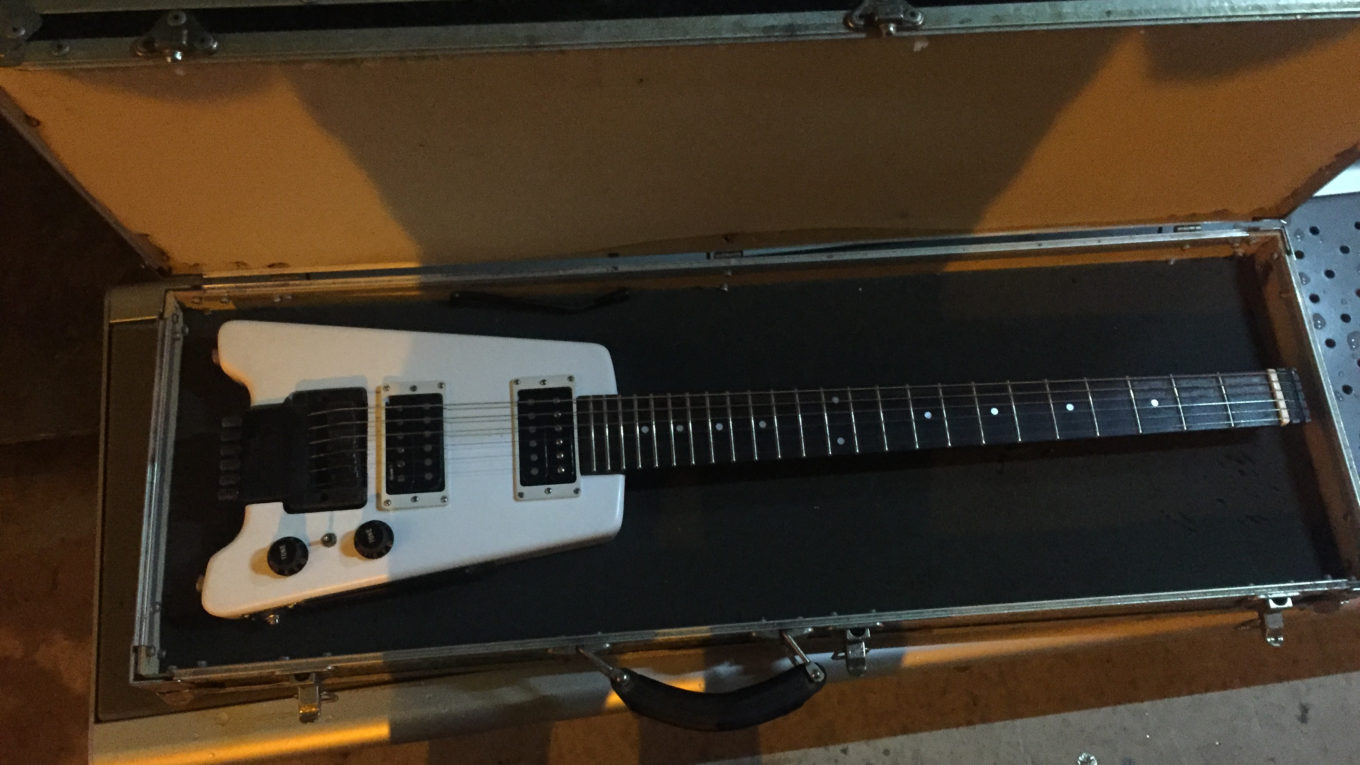
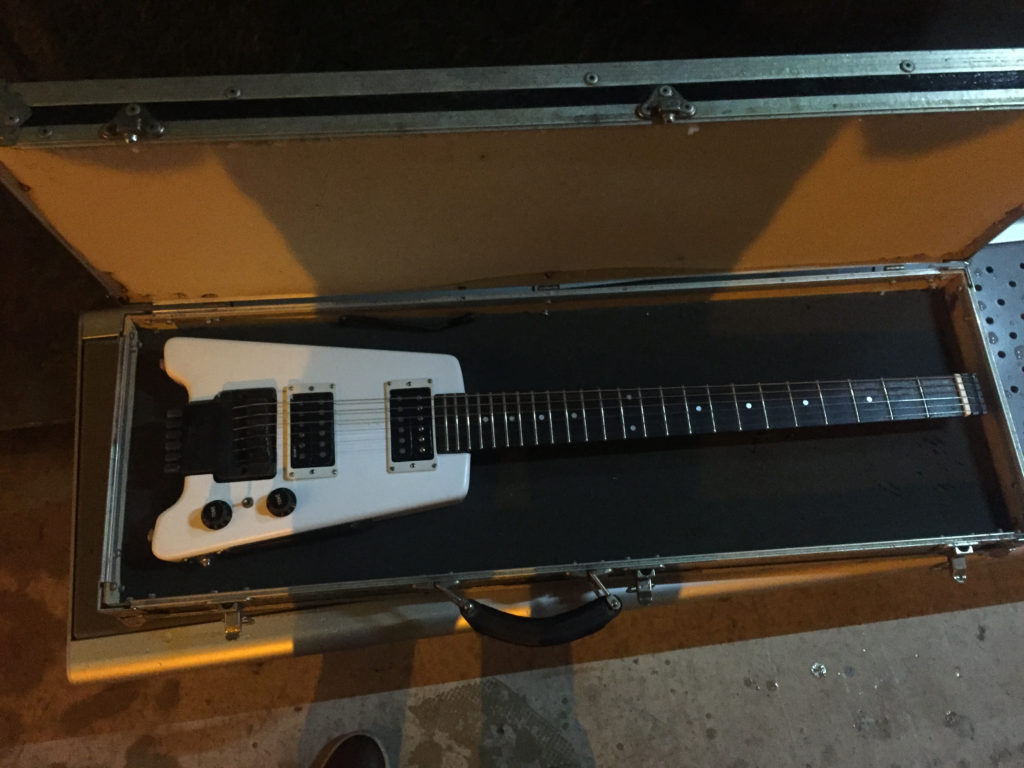
And indeed, the paint job was awful, the nut was a cheap plastic nut but the frets were OK. And since I really wanted to go home, I closed the deal and went home with the guitar and a beautiful flightcase especially made for this guitar. Altogether 250 euro’s, an OK deal.
In the bus back, I noticed the smell of stale beer. It was the guitar case. Some pints must have been spilled over this case so at home it first spend a couple of weeks in the garage to get rid of the smell.
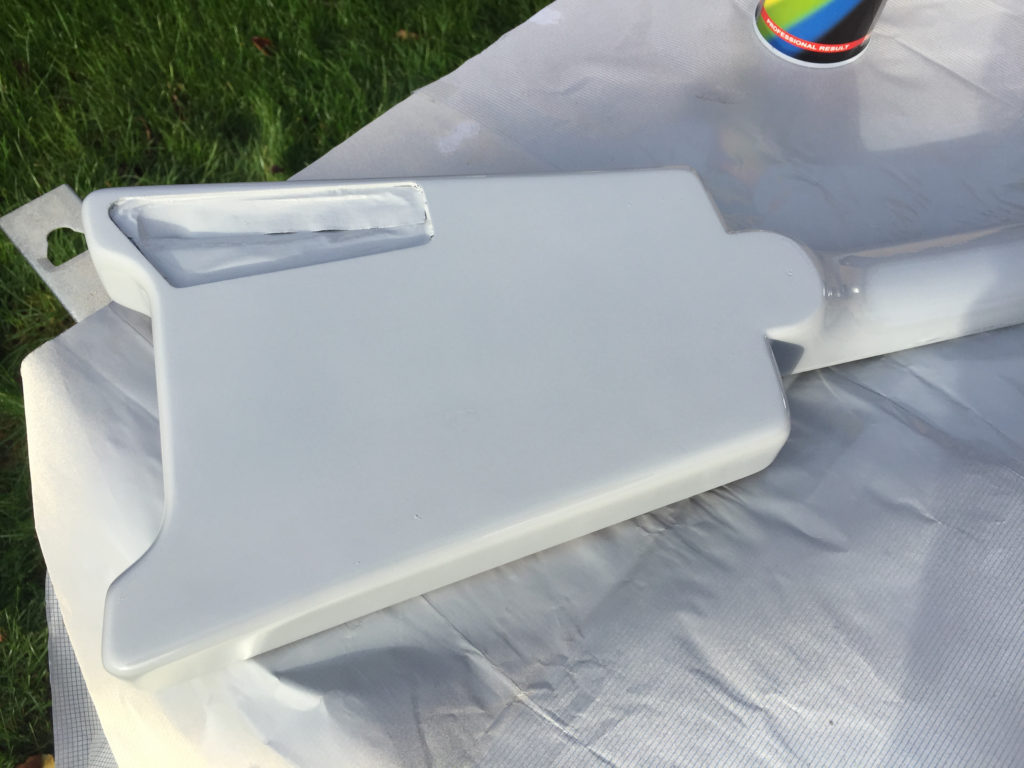
After closer inspection of the guitar, I decided to do a complete paint-job plus a nut replacement. So here we go…
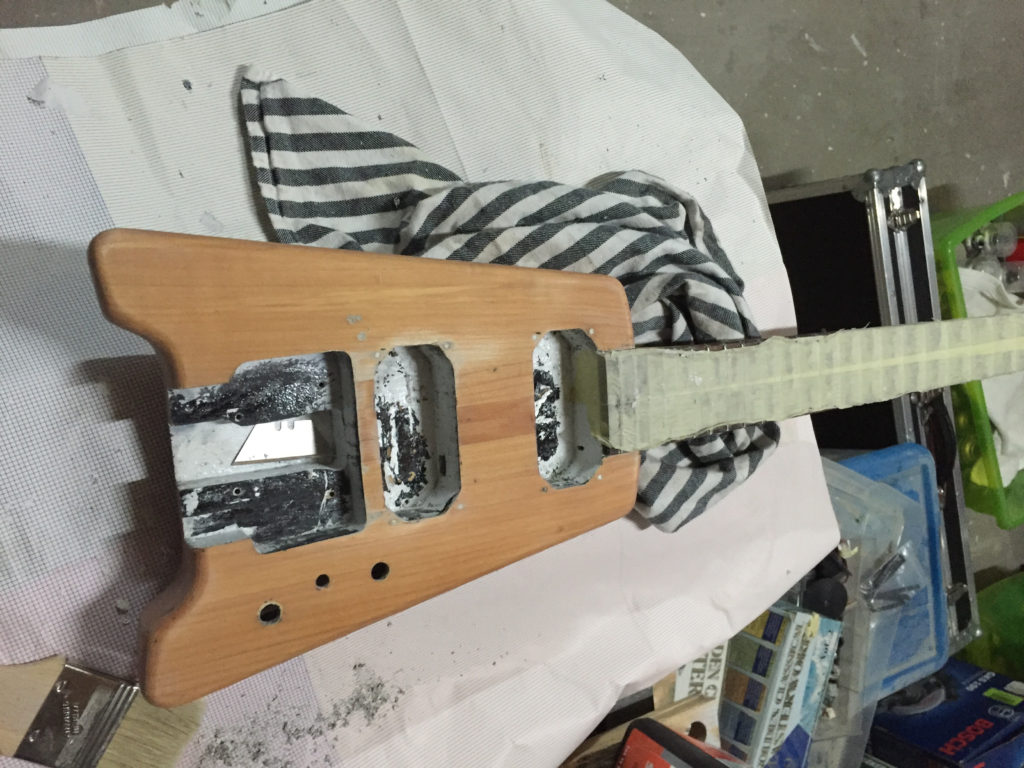
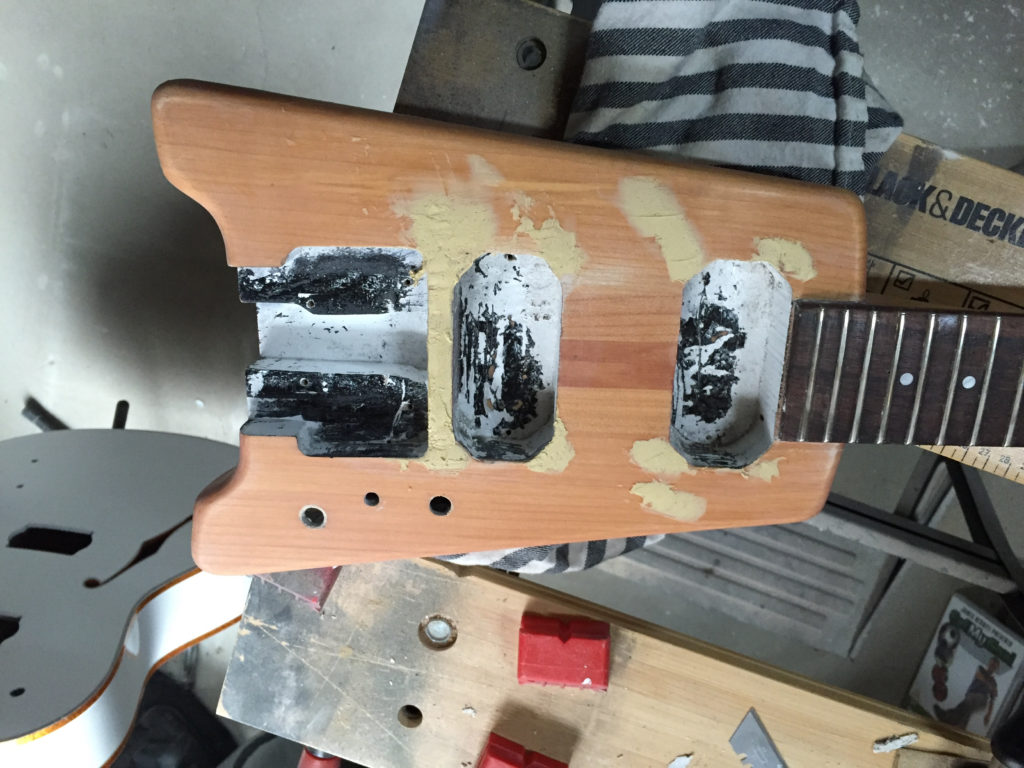
Replacing the nut was a very hard job. I bought a new Tusq blank nut (black color) but somehow I wasn’t able to get it to fit properly. Possibly I didn’t pay enough attention to it because I got bored with the whole project. After some time I decided to look for a replacement head piece and I found one for about 40 euro’s at http://www.hohner-cshop.de. I ordered one, sanded the material of the nut equal to the fingerboard so it became a some sort extension to the fretboard, installed a zero fret and then installed the new head piece. The guitar became instantly a perfect playing guitar. It made me realize how important the nut slot depths are. They were not cut deep enough causing a very high action and therefore resulting in an unplayable guitar.
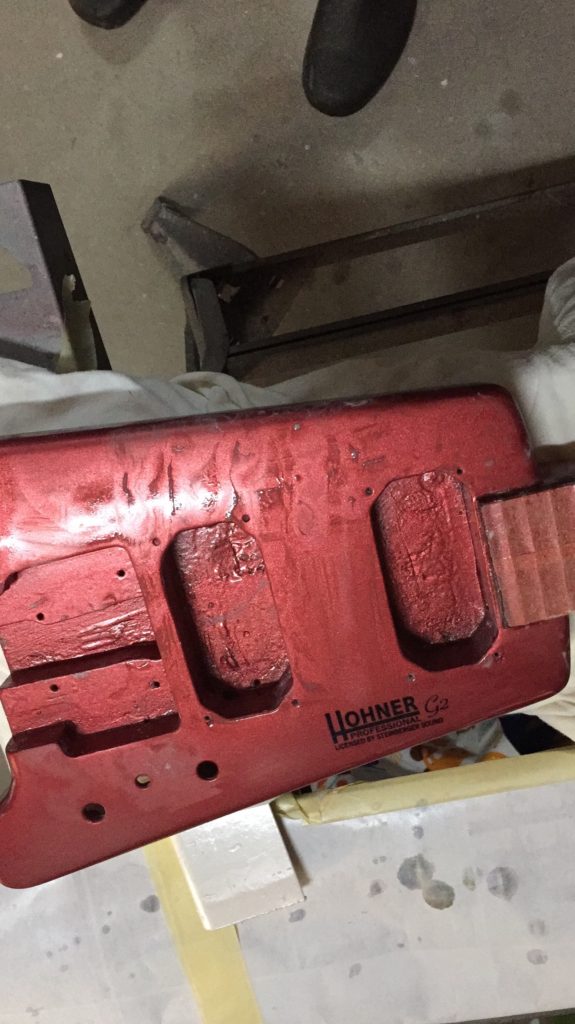
Next step was the final finishing. I decided to go for a metallic dark red finish, but not before I designed myself a logo in Inkscape.

It was quite a journey but I have my second Hohner!